Emulative Emergence- Mold making rubber and mastercam
This week and a half I have been working on making the rubber mold. The file has been persnickety- meaning- I have made a few design changes as I went along, and in so doing had taken the file from Rhino to illustrator and back again several times.
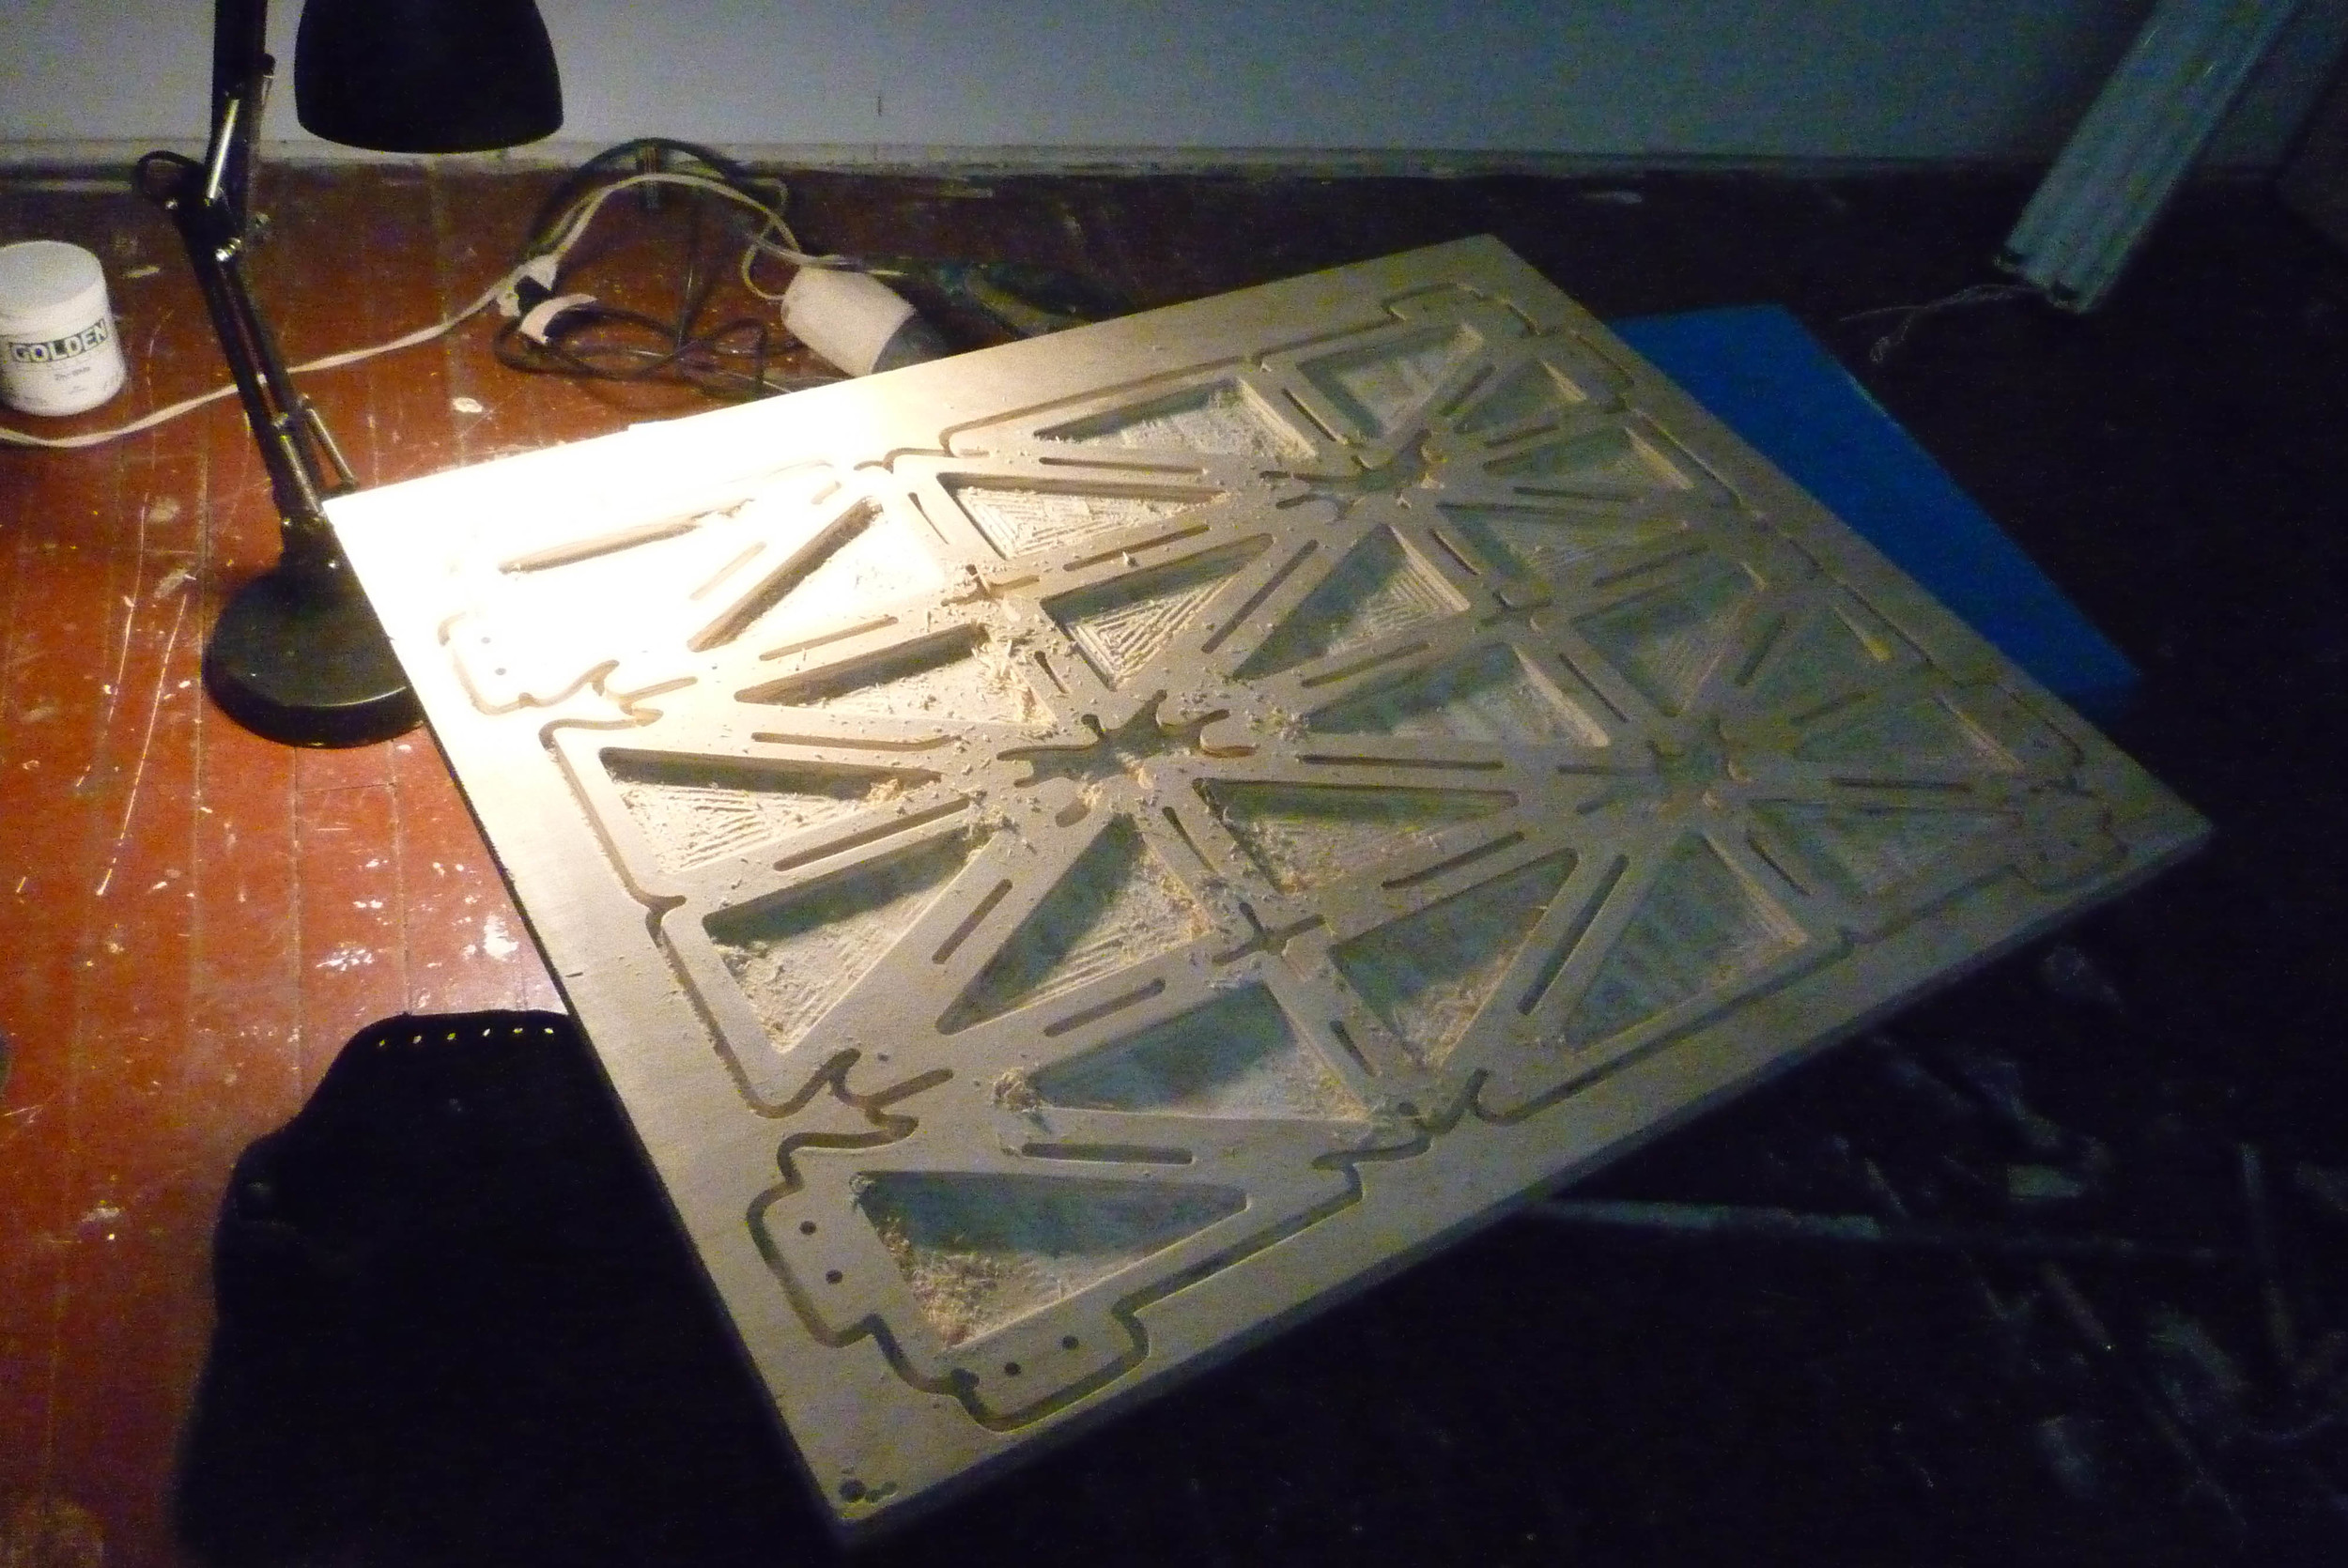
I finally came to a design I think would work well, then altered it to talk CNC language (meaning if I wanted a 1/4" contour then I had to erase all but one line of that shape and tell MasterCam to contour on the proper side of that line).
So, I and MasterCam had a lovely Saturday morning- and I am not being facetious- but it was a long set-up.
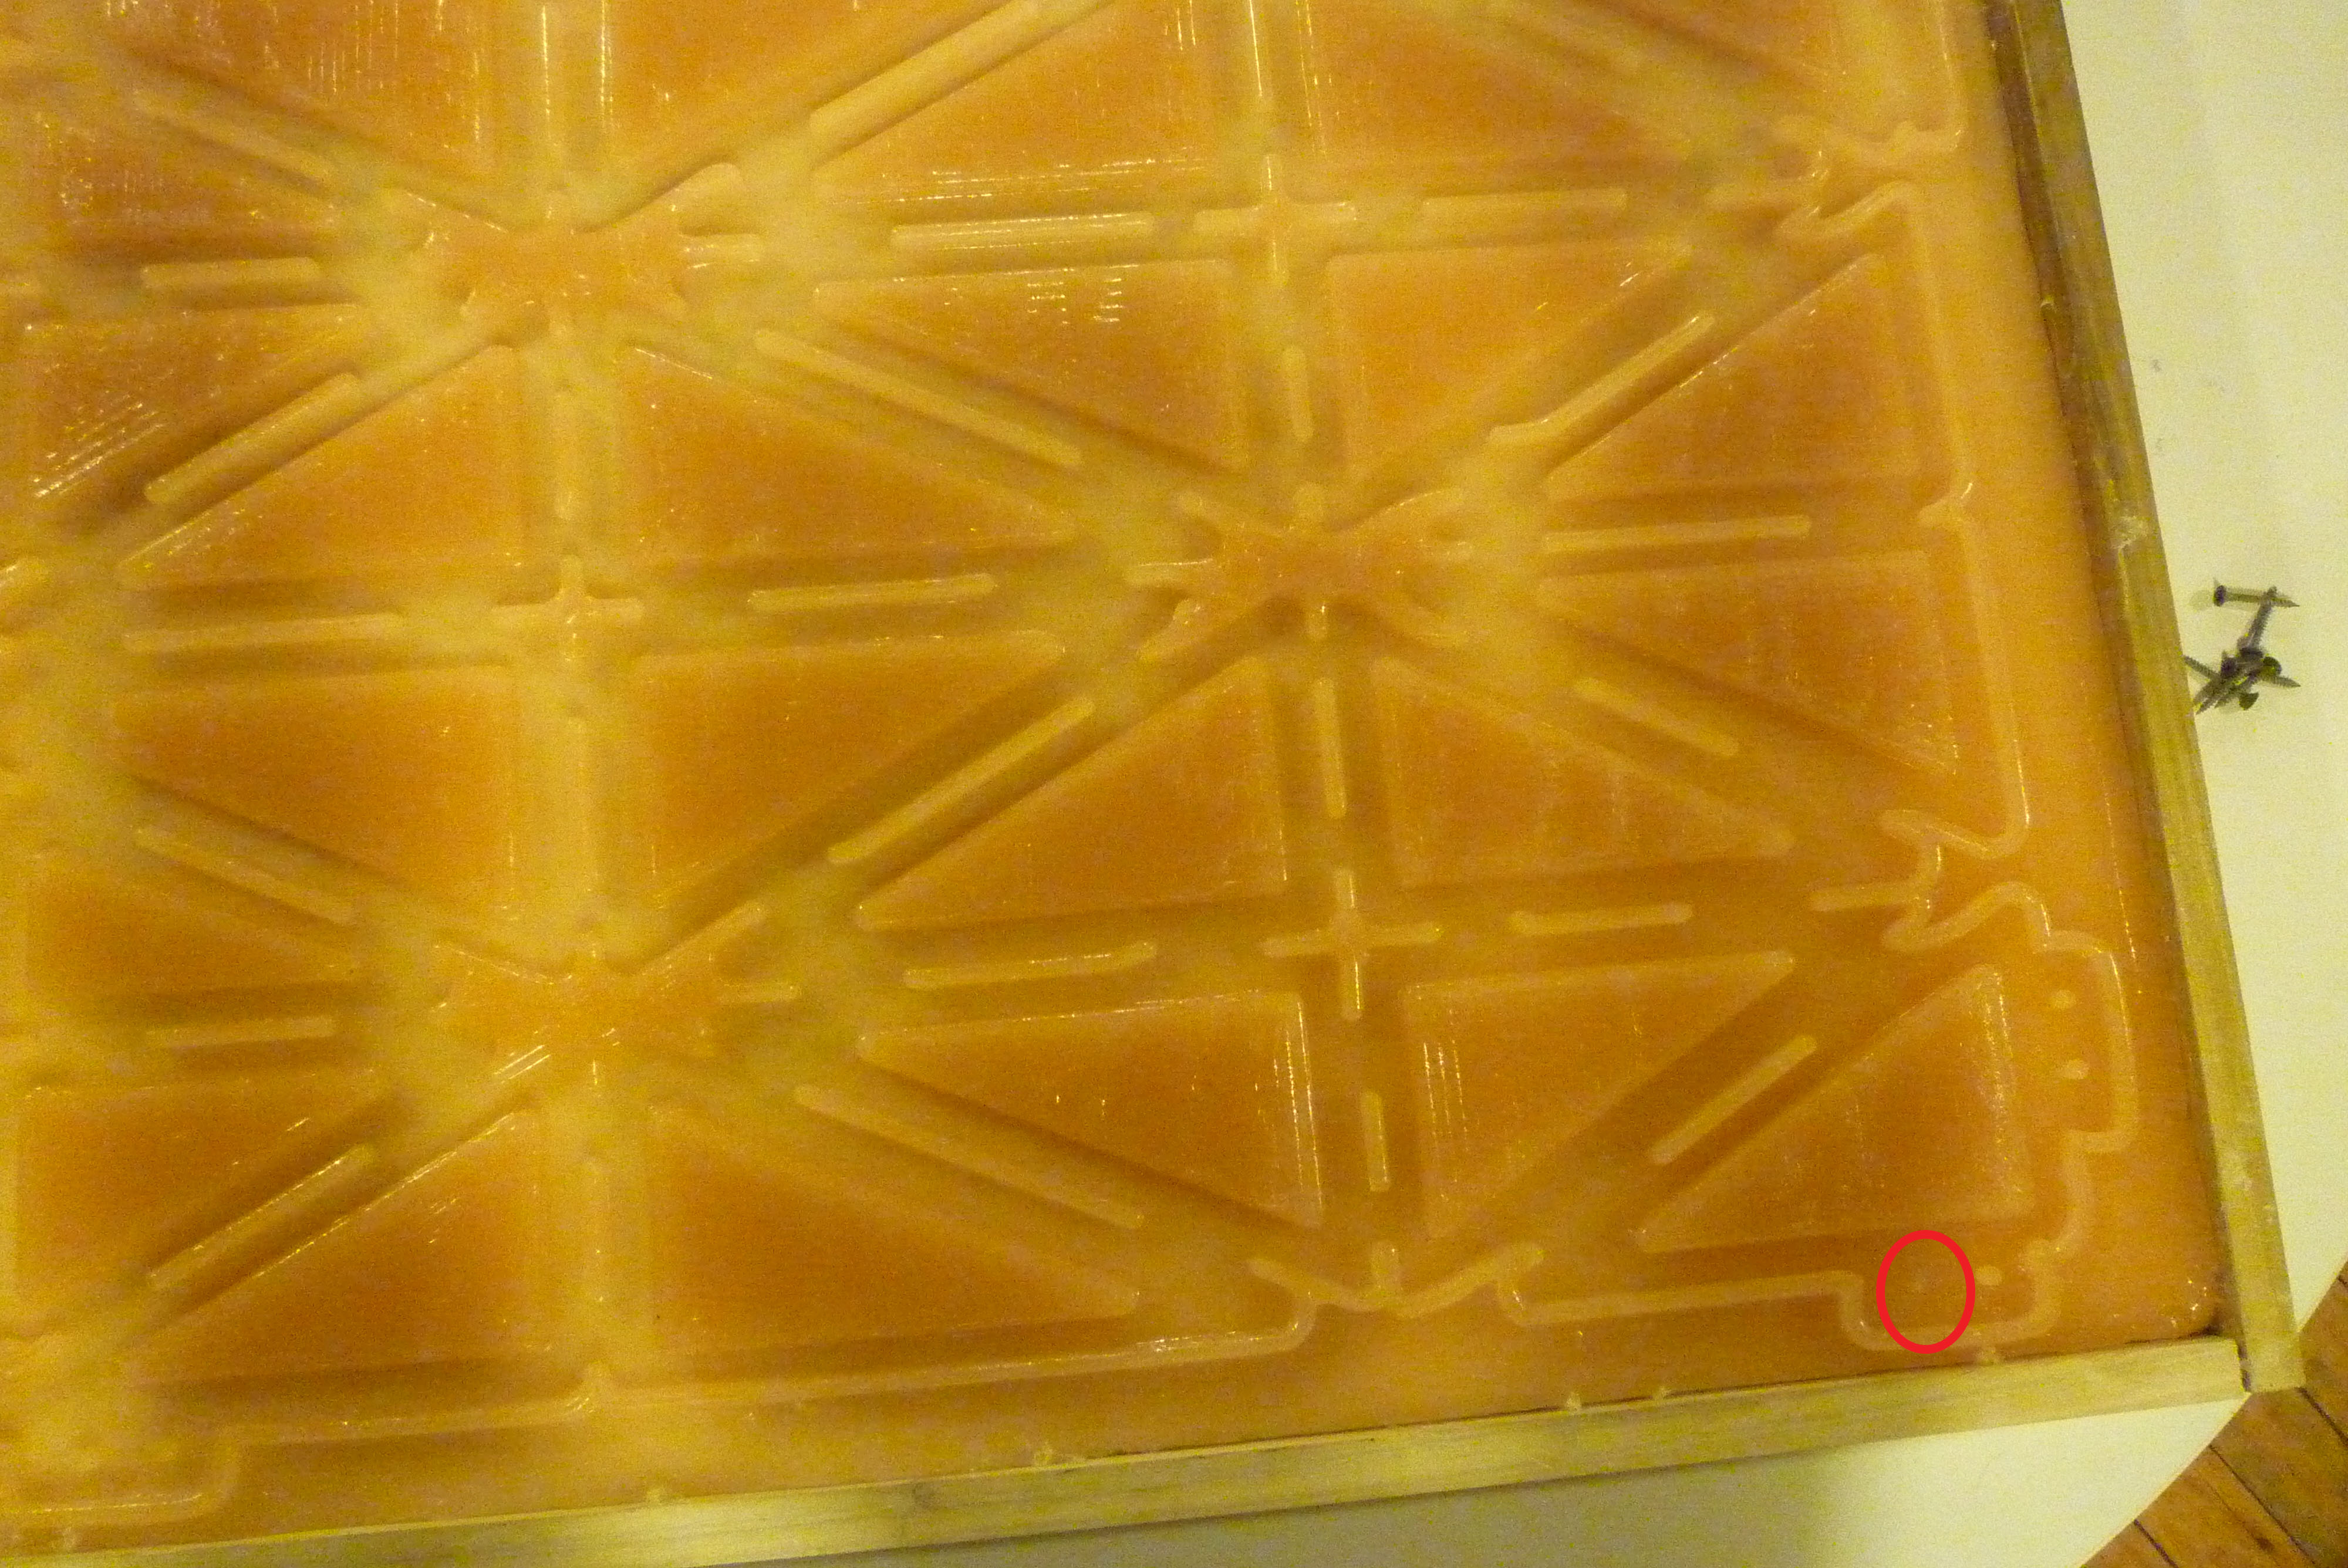
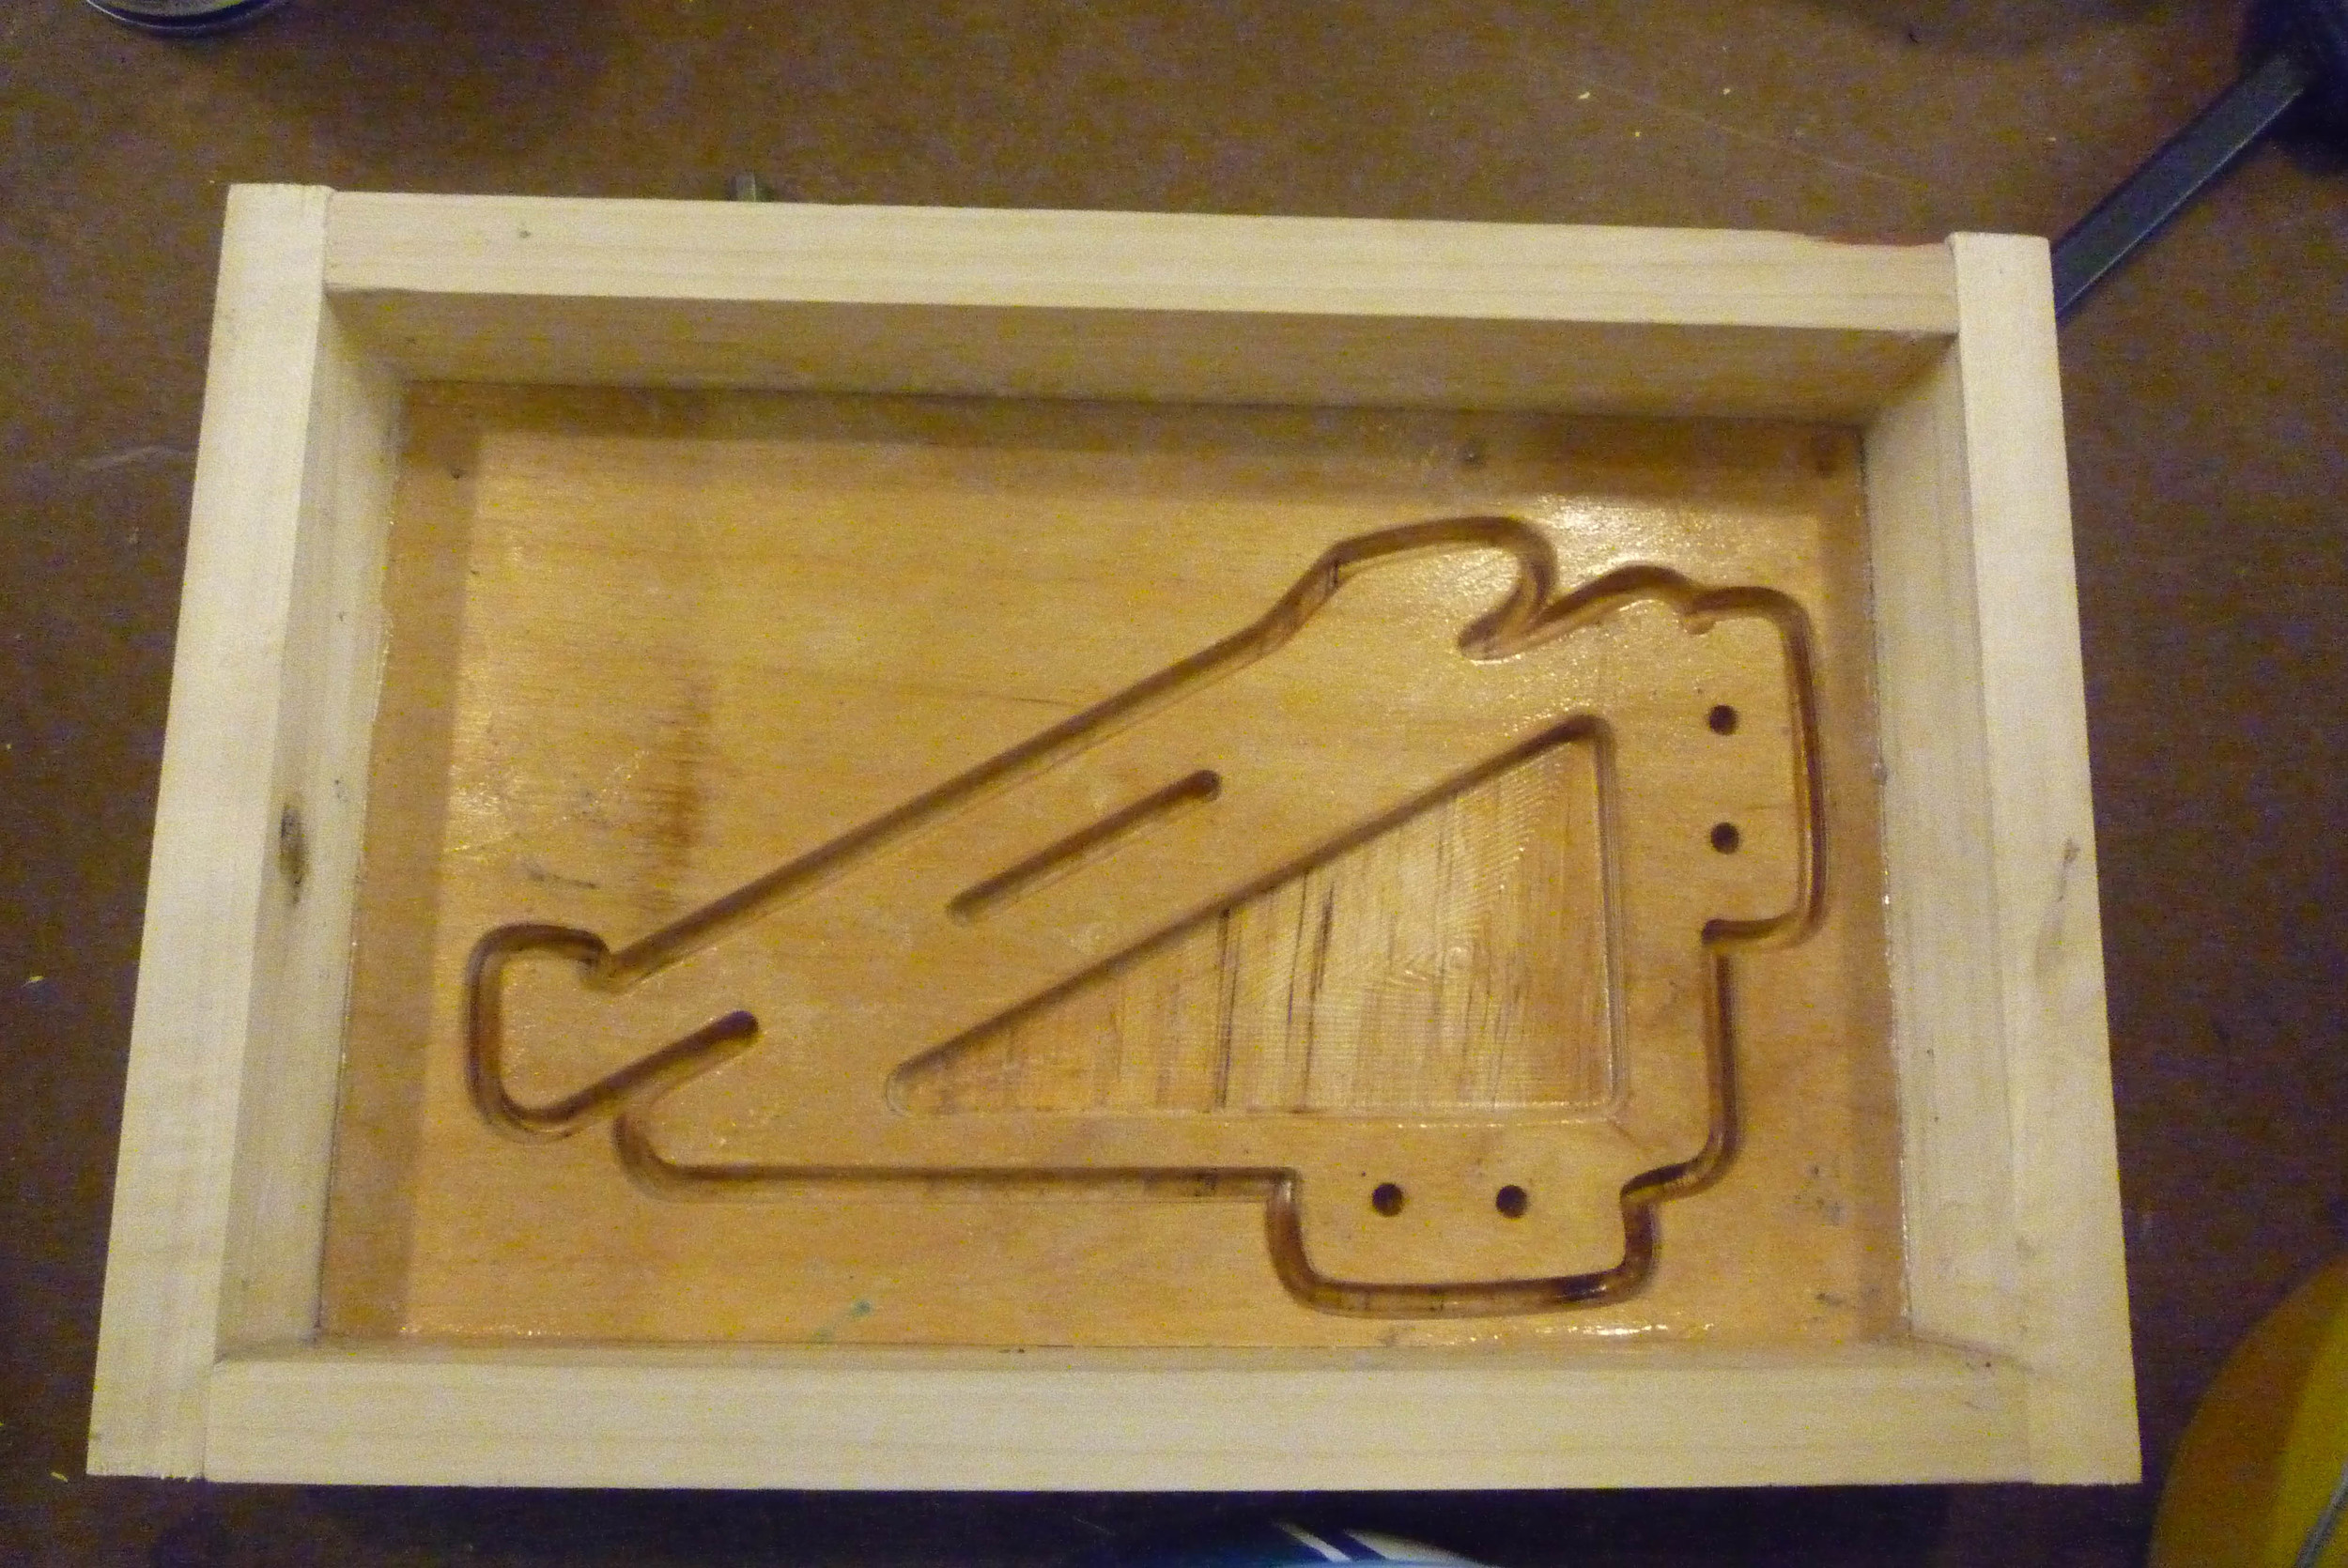
I finally got to run the CNC job and it looks as follows:
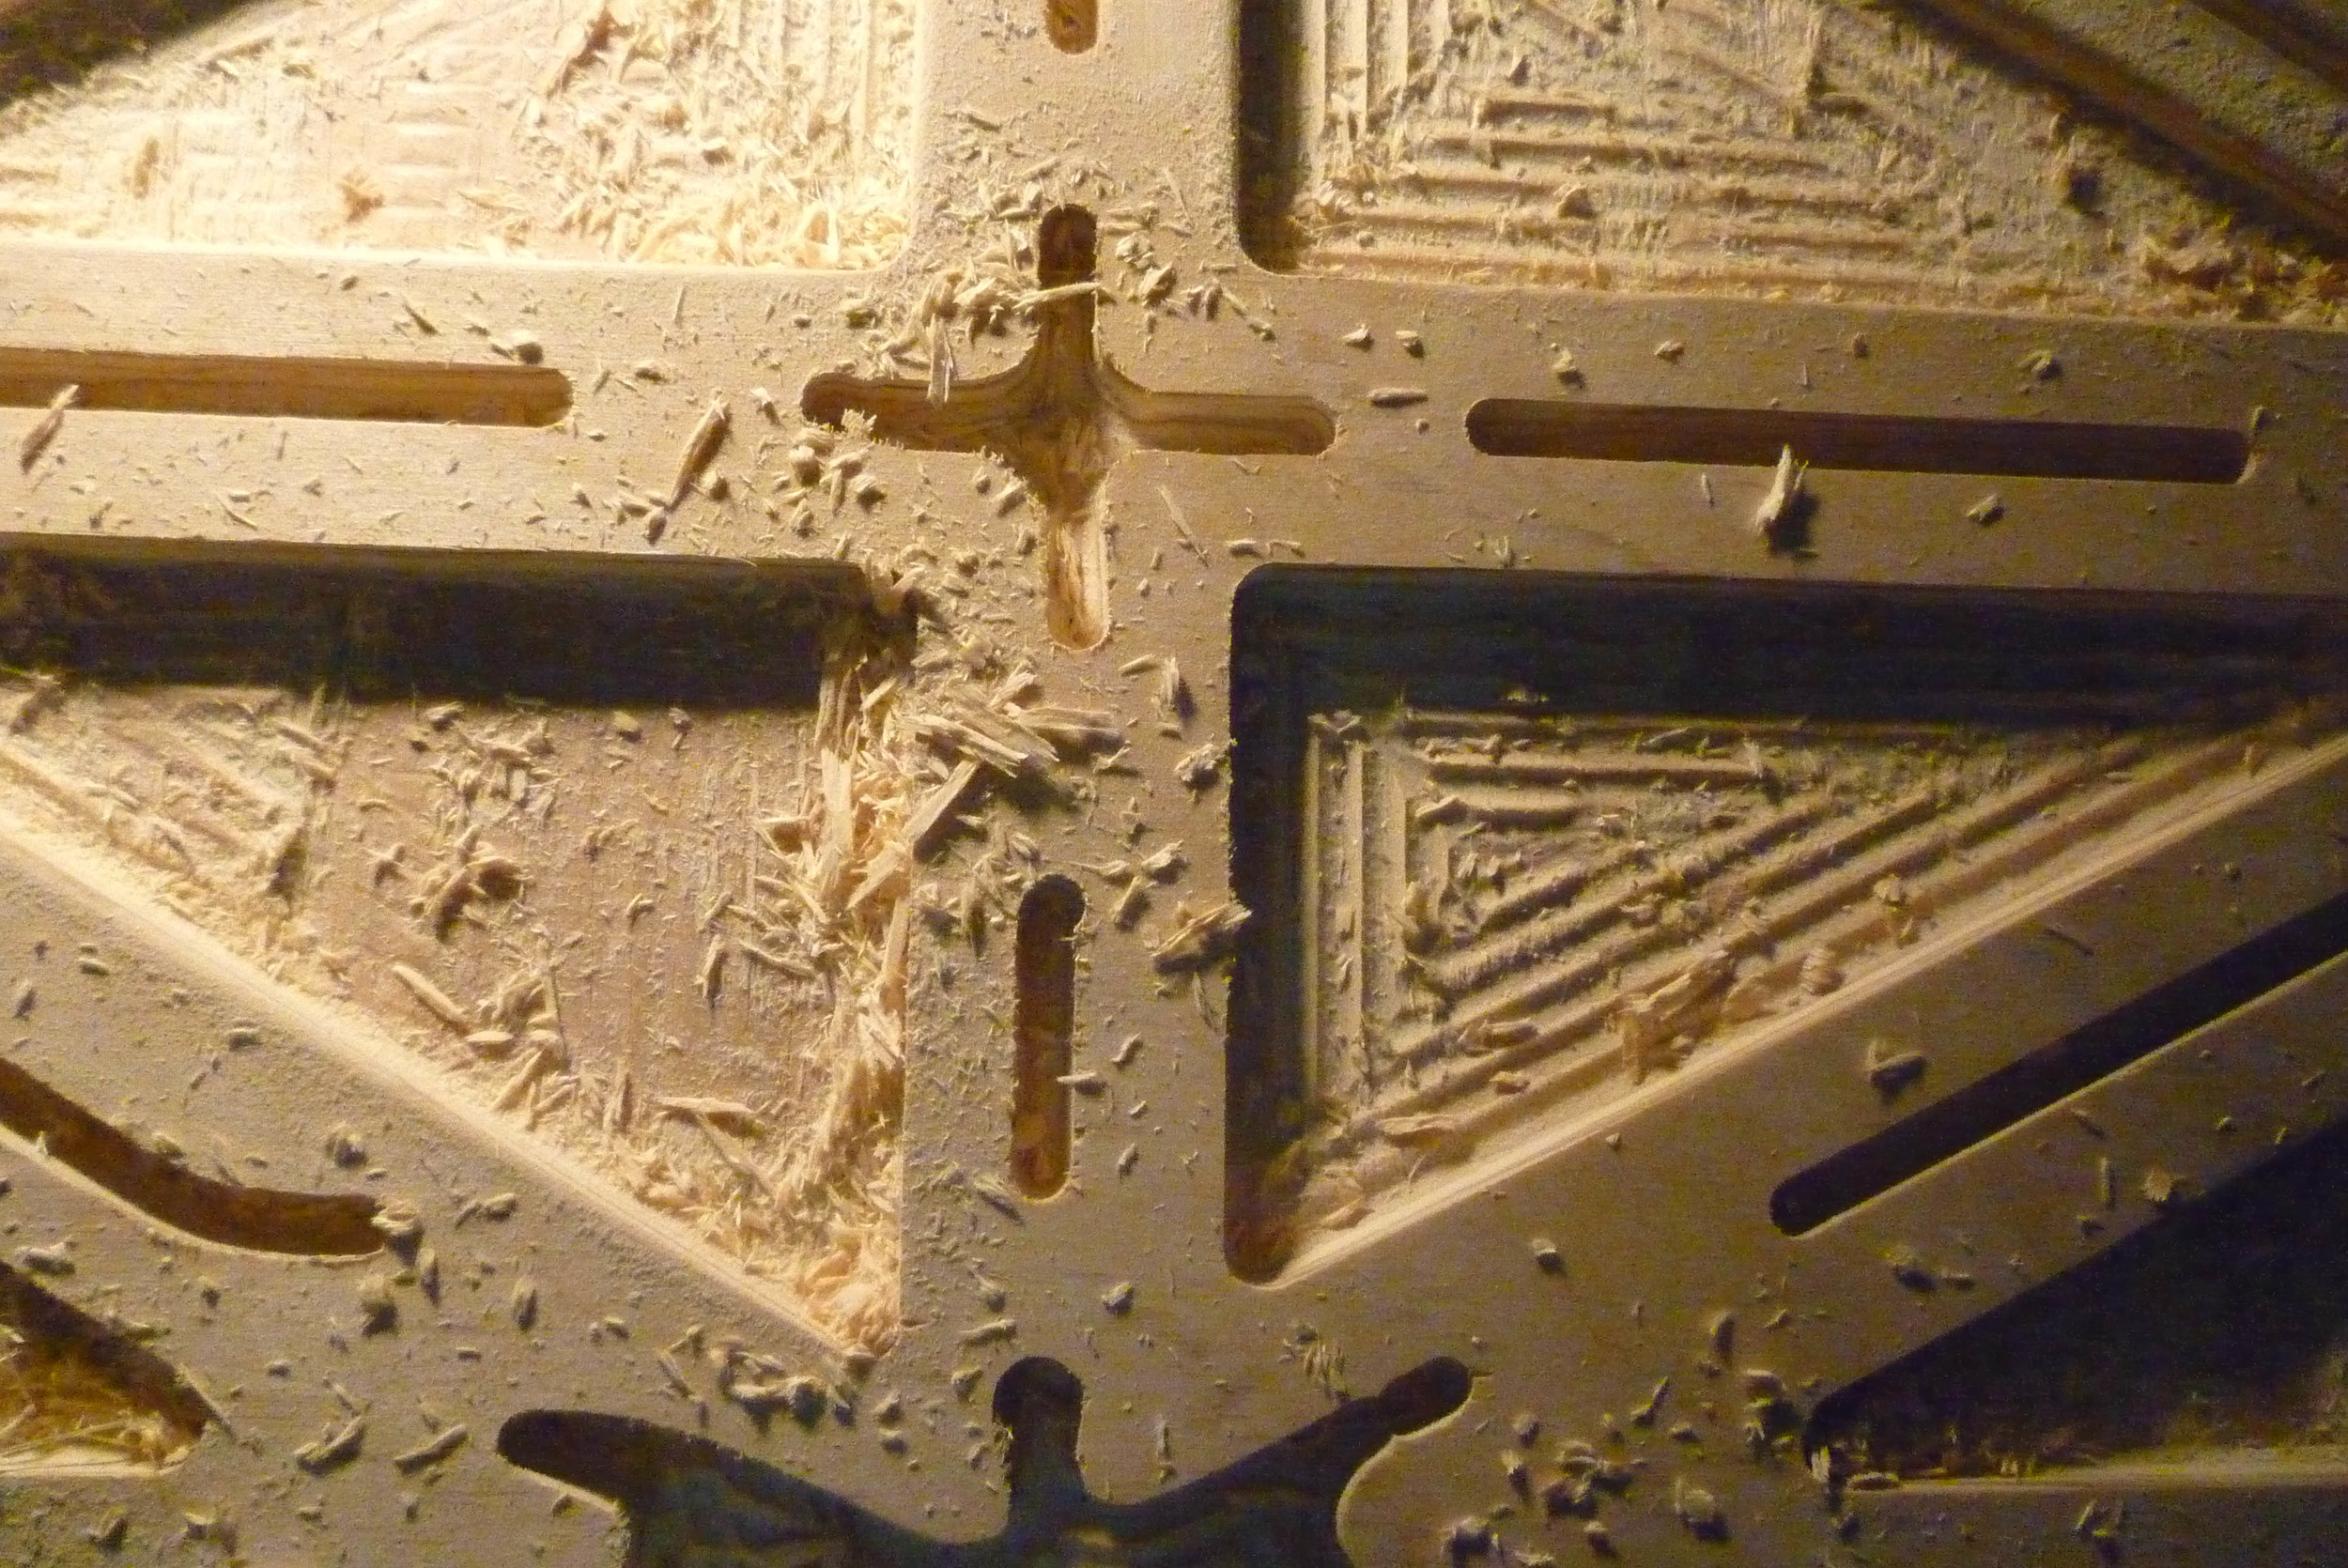
I spent a good deal of hours sanding it down. As I became paranoid that those tight spaces would be a pain to get rubber out from once it had been cast.
FYI this process is as follows:
CNC the wood in a positive-
Cast the Negative from that positive in the rubber-
All other positives will be cast in that rubber negative.
The material that I chose based on the tech support (awesome lady) at the Compleat Sculptor is
Smooth On PMC - 744.

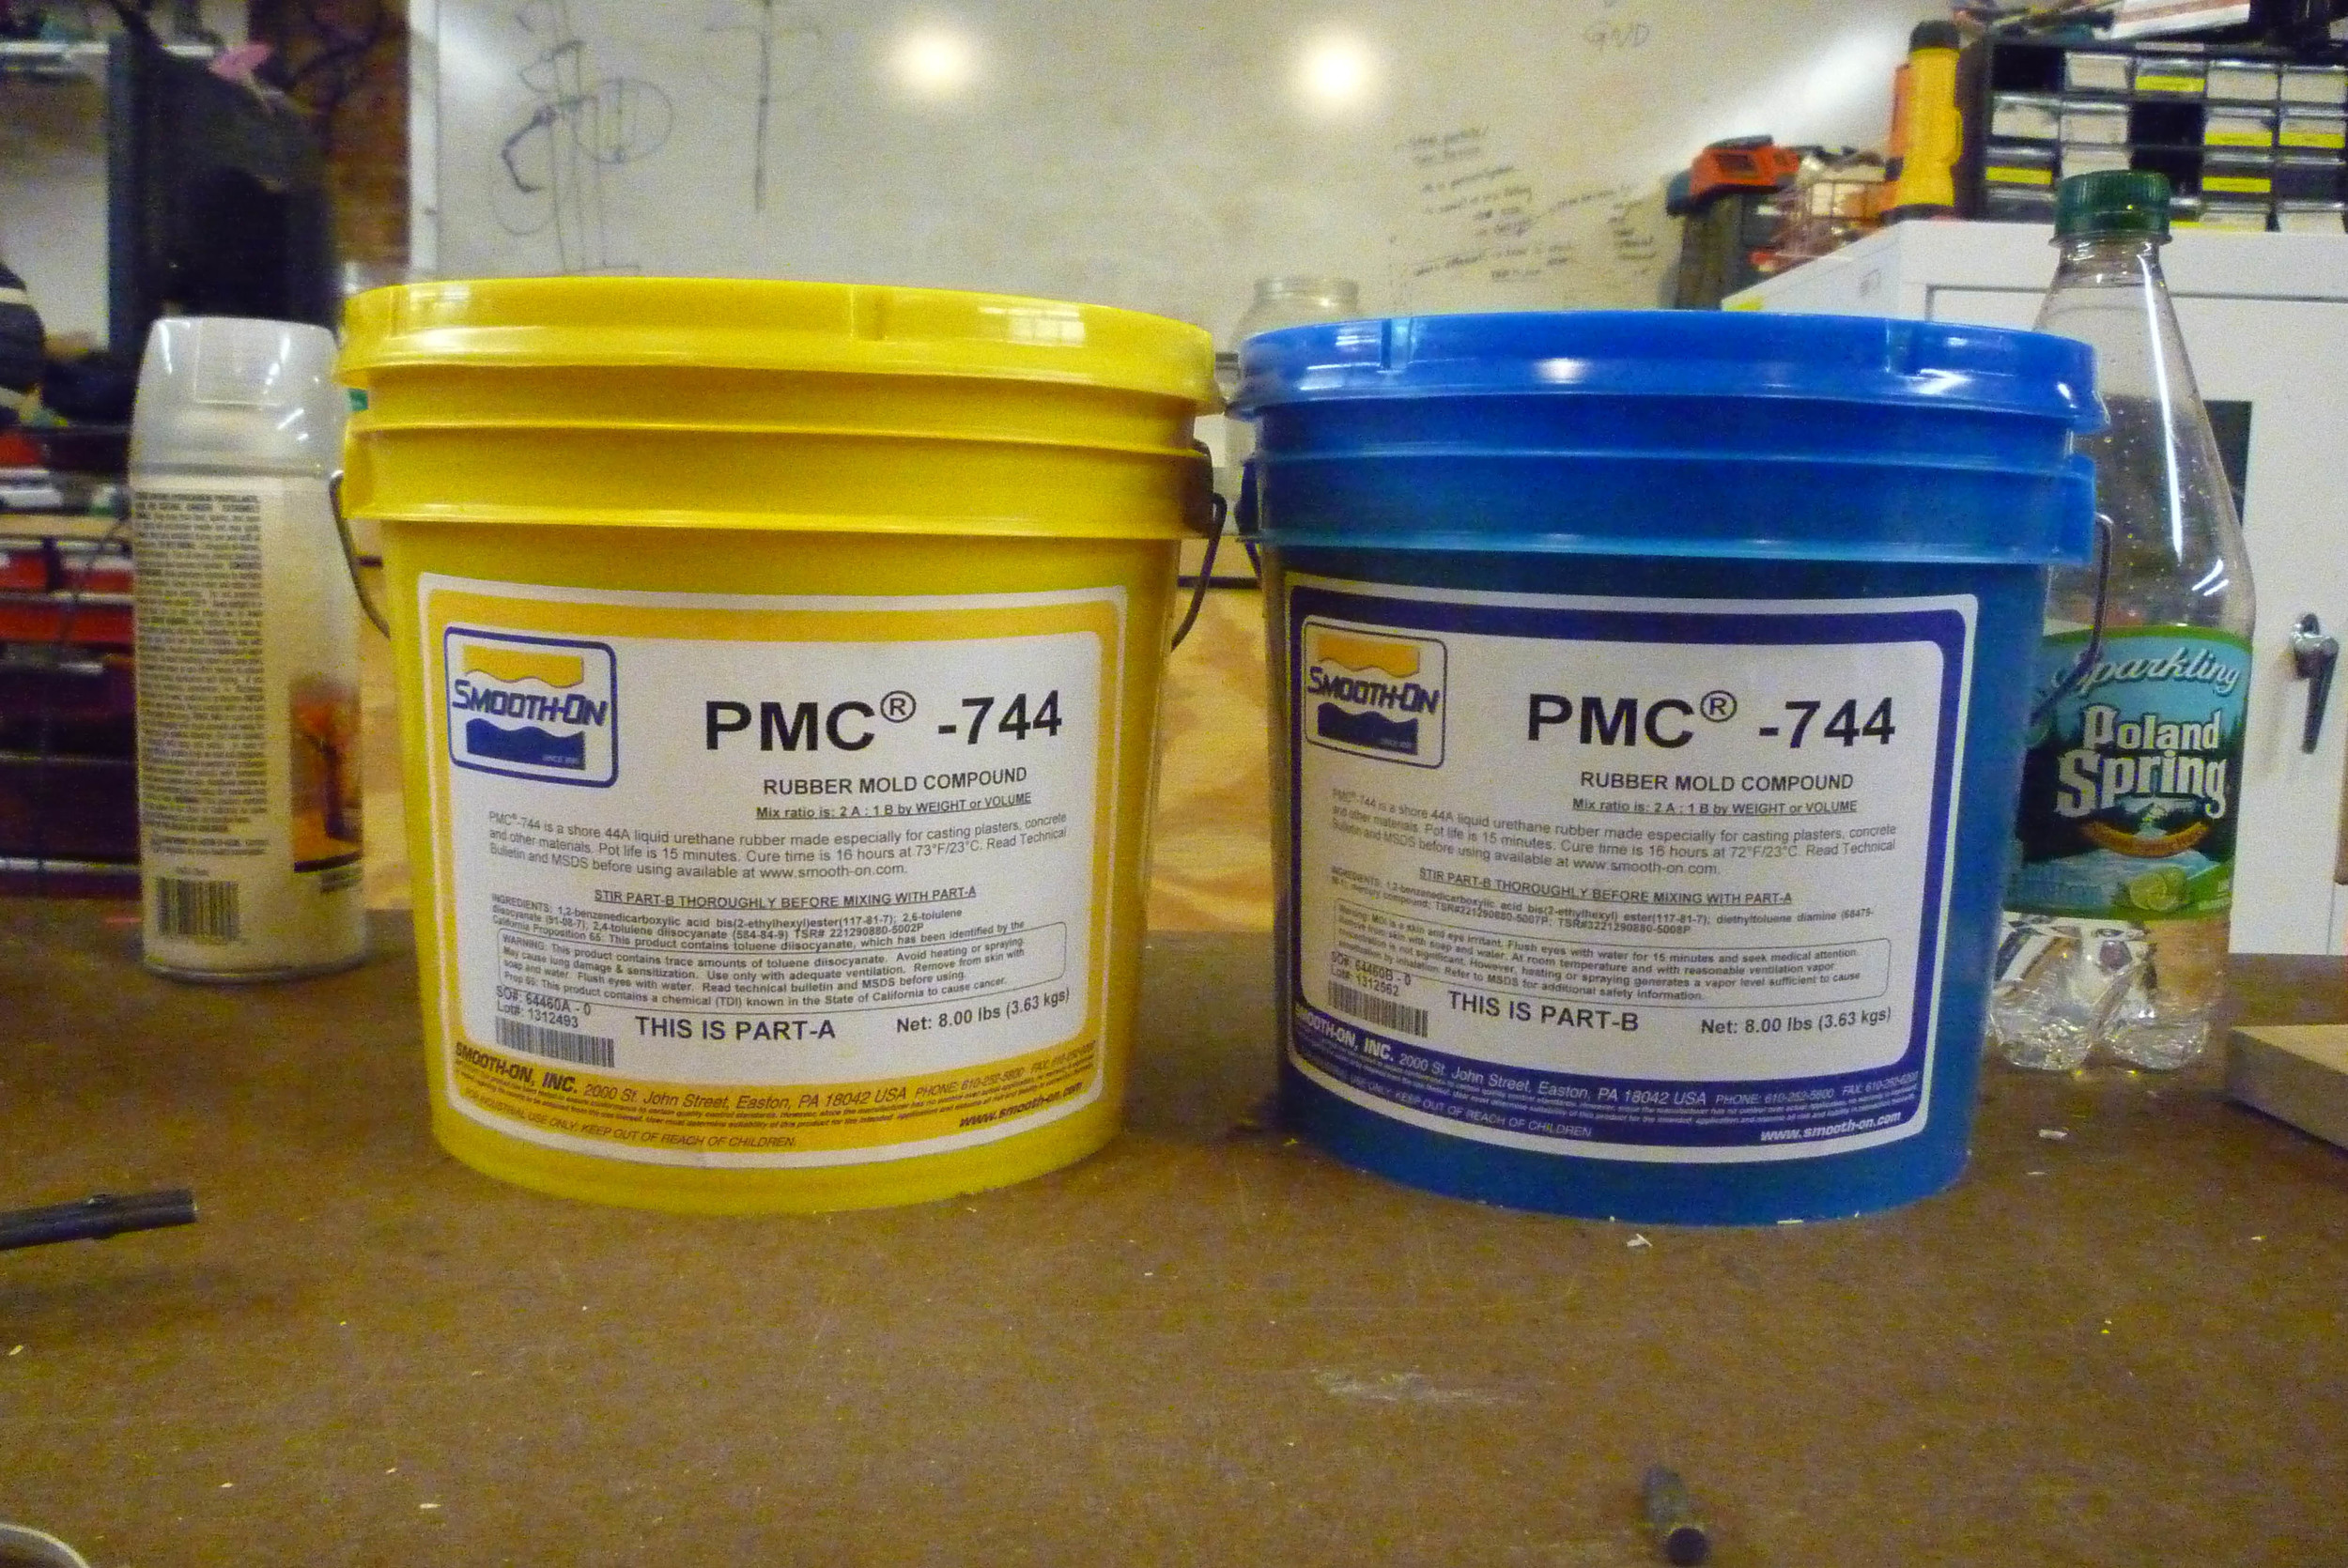
Largely, rubbers have a shorter life span than resins. This is a liquid urethane rubber.
I had planned on doing 90% of the casting at my studio- as the cure time fro this particular material is 16 hours. However, I live with no heat. It says in huge bold letters that under no circumstances should this be cast in anything under 65 degrees. My house - is at best- around 40.
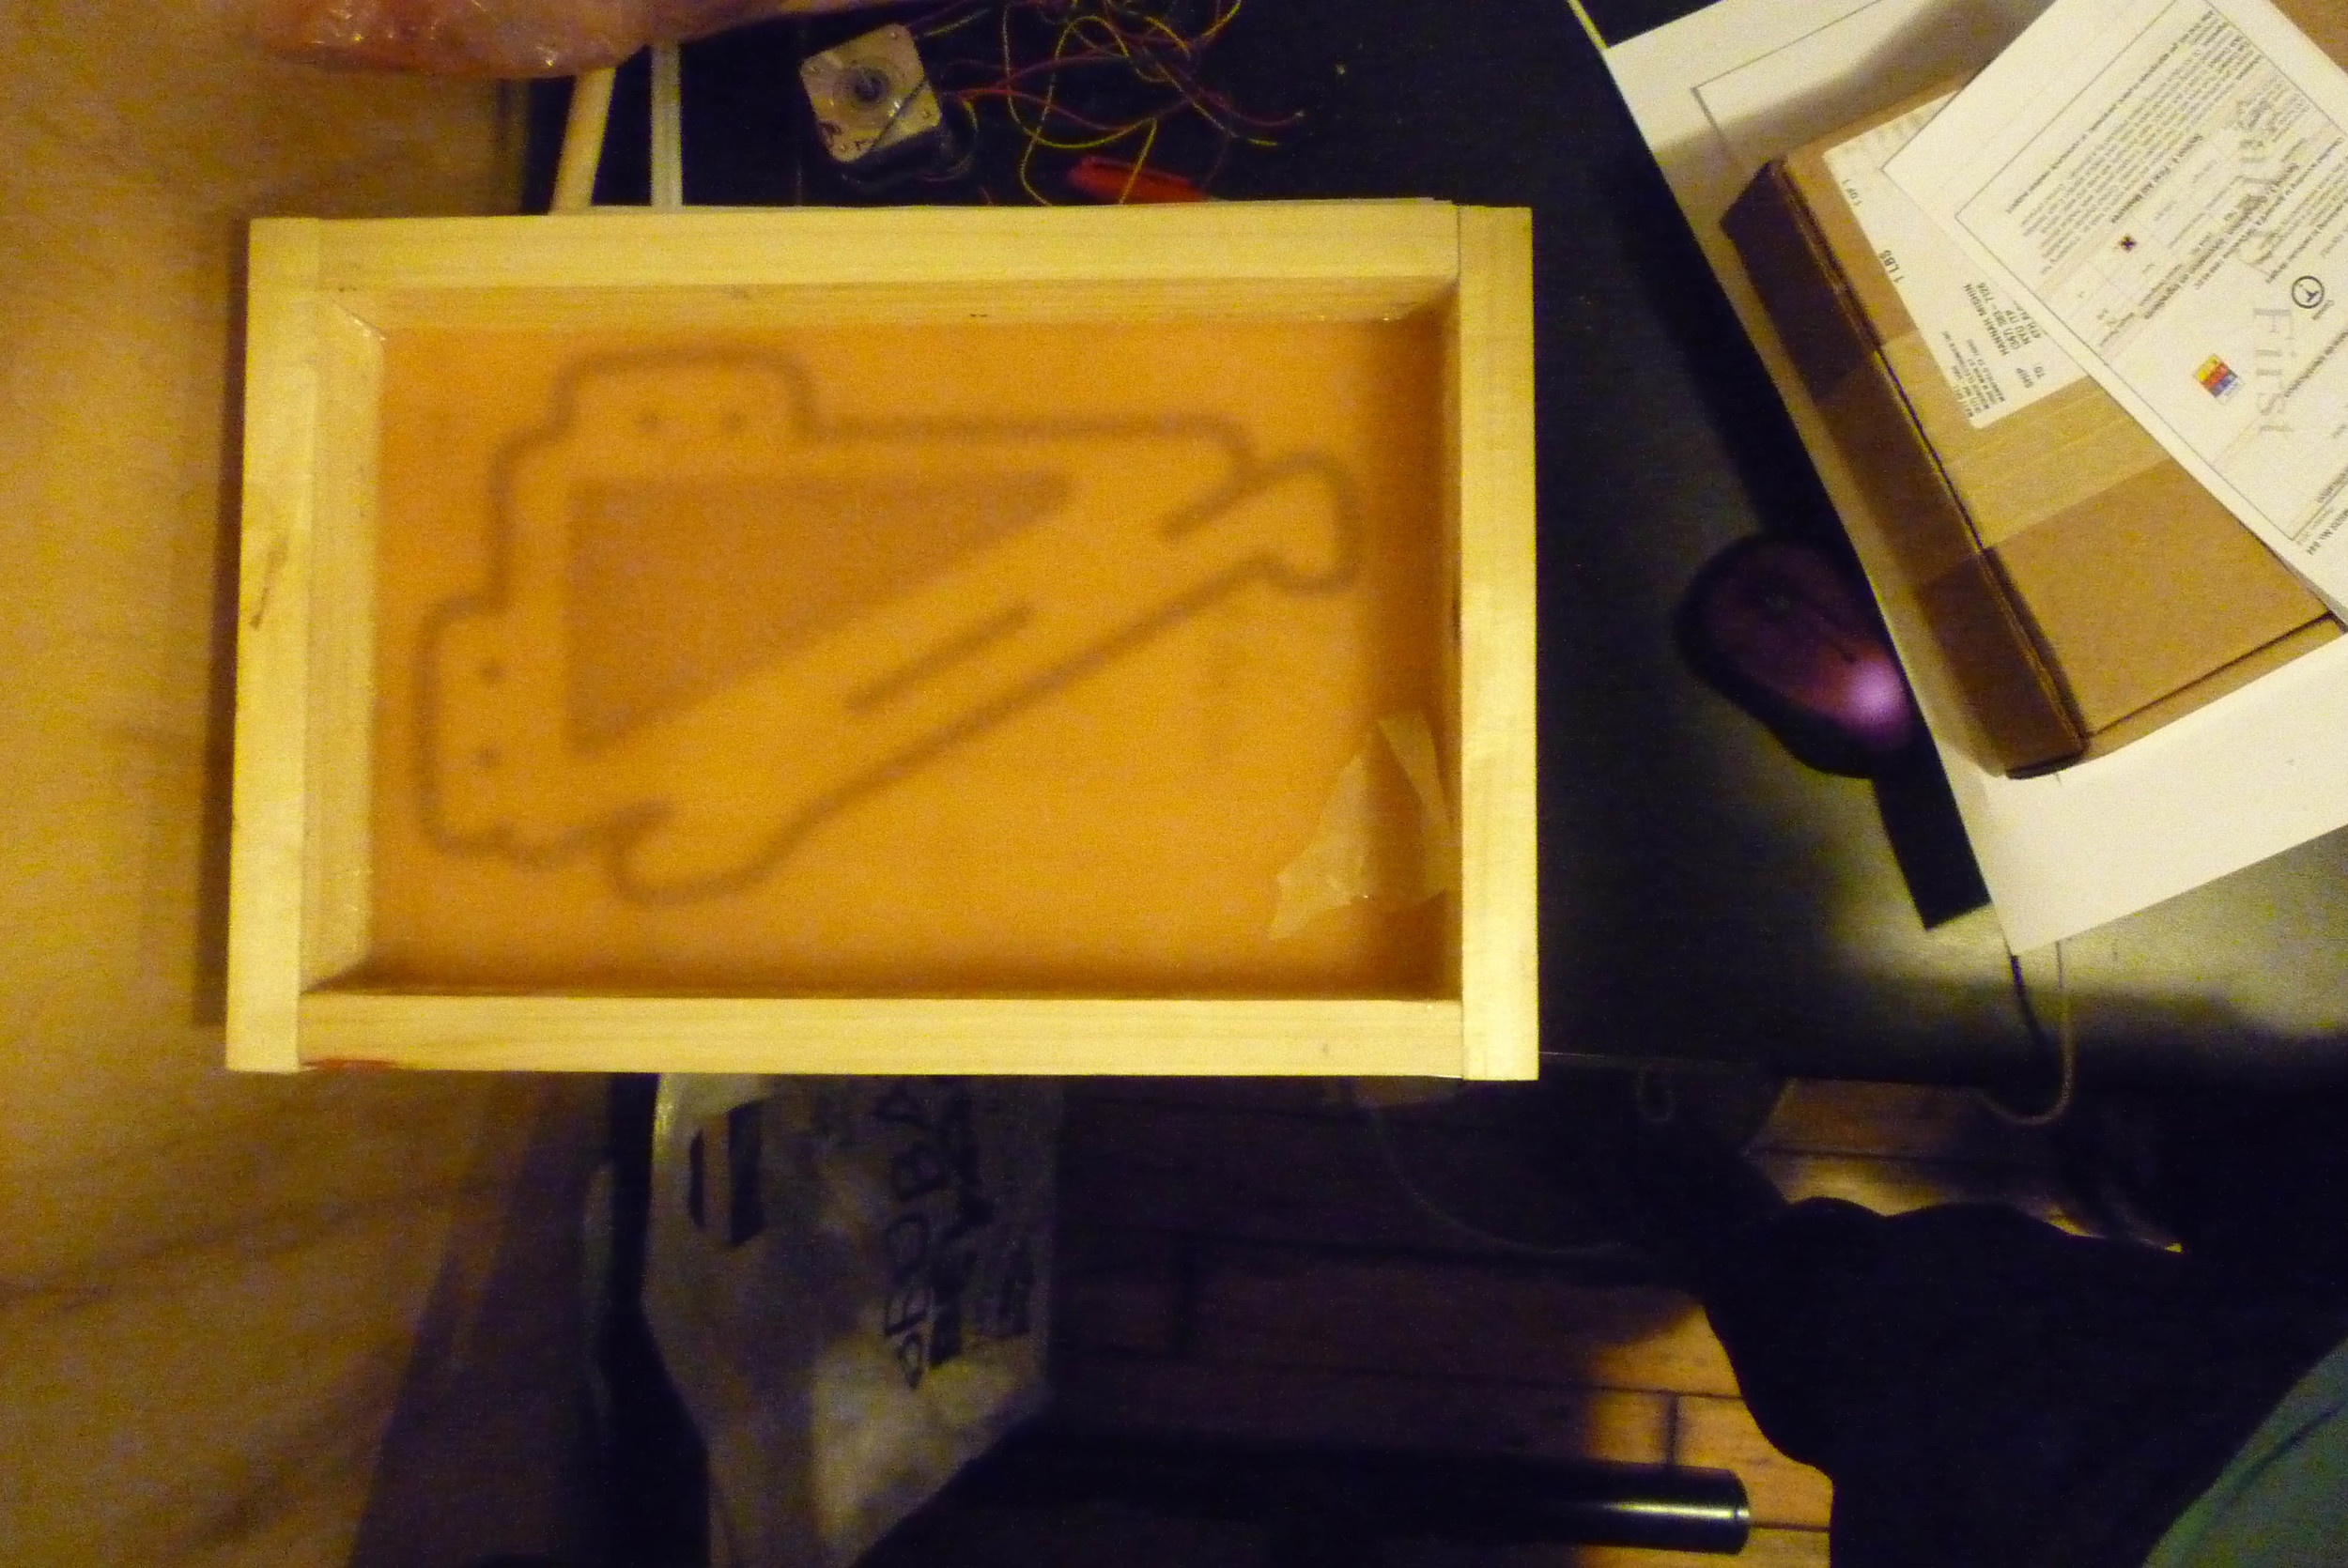
Therefore, I thought it best to do a test cast- for the feasibility of the Positive CNC wood version with all of its tight corners.
So I made a little test cast guy:
I also wanted to test and see if the latex could be incorporated into the rubber mixture- as a means of wonderfully incorporating- seamlessly- the latex without compromising the rubber solidifying.
I will update this blog with the results.
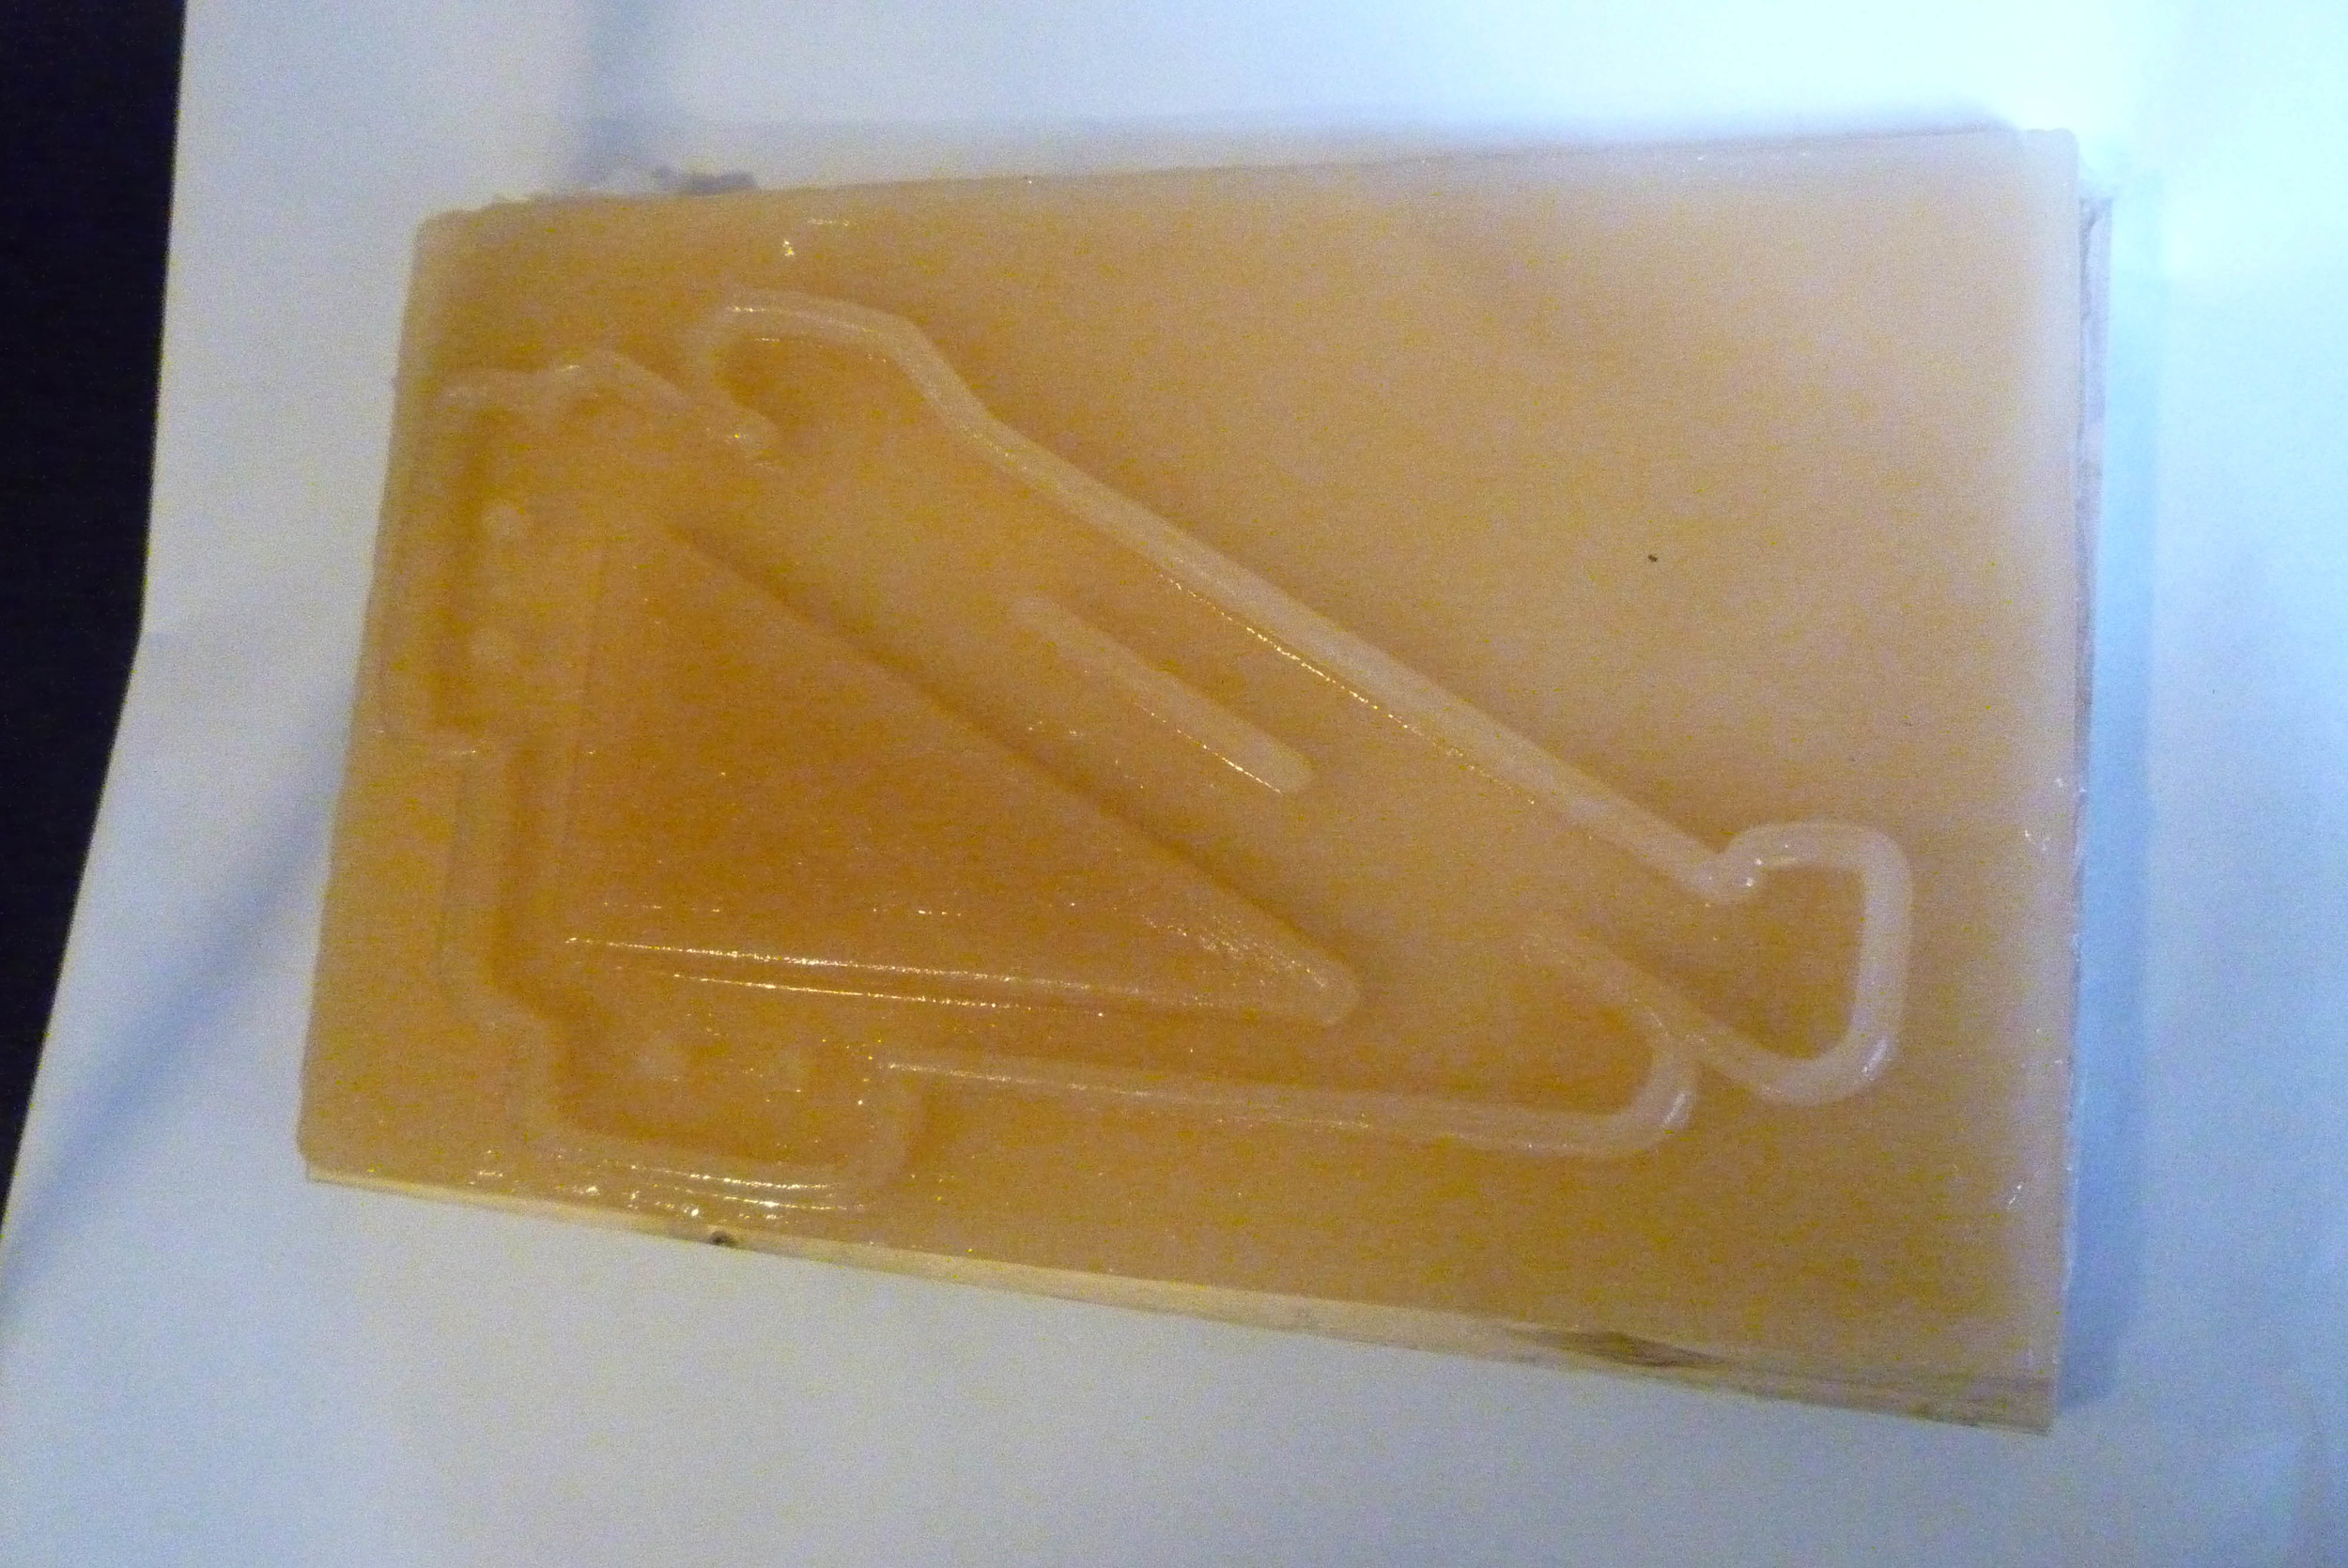
ANNNNNNDDDD it works and is totally sexy! I wanted to test how the mold would come out in a positive- how it feels and moves etc before casting the whole node.
I also did not affix the latex properly - meaning - it did not secure to the mold so, I did a piss-poor job of attempting it this time around, but it is largely, that once the jar opens on the 2 part mixture- I have a total of 15 minutes to do what I need to do before the stuff begins to set.
So, I thought I would perforate the sheet of latex and lay it in the mold and just let the rest hang over. However in the middle of pouring and laying out the latex, it became clear that this was not adviseable and I had to cut the latex down after it had been submerged in the rubber.
I hope that, at least, when this cures, I will know whether I can cast the negative of the triangle in latex without having to sew/ or otherwise secure it, as the seamlessness of casting is kind of awesome.


now to make the big boy.
ANNND he is cast- now the agonizing 16 hour cure time.

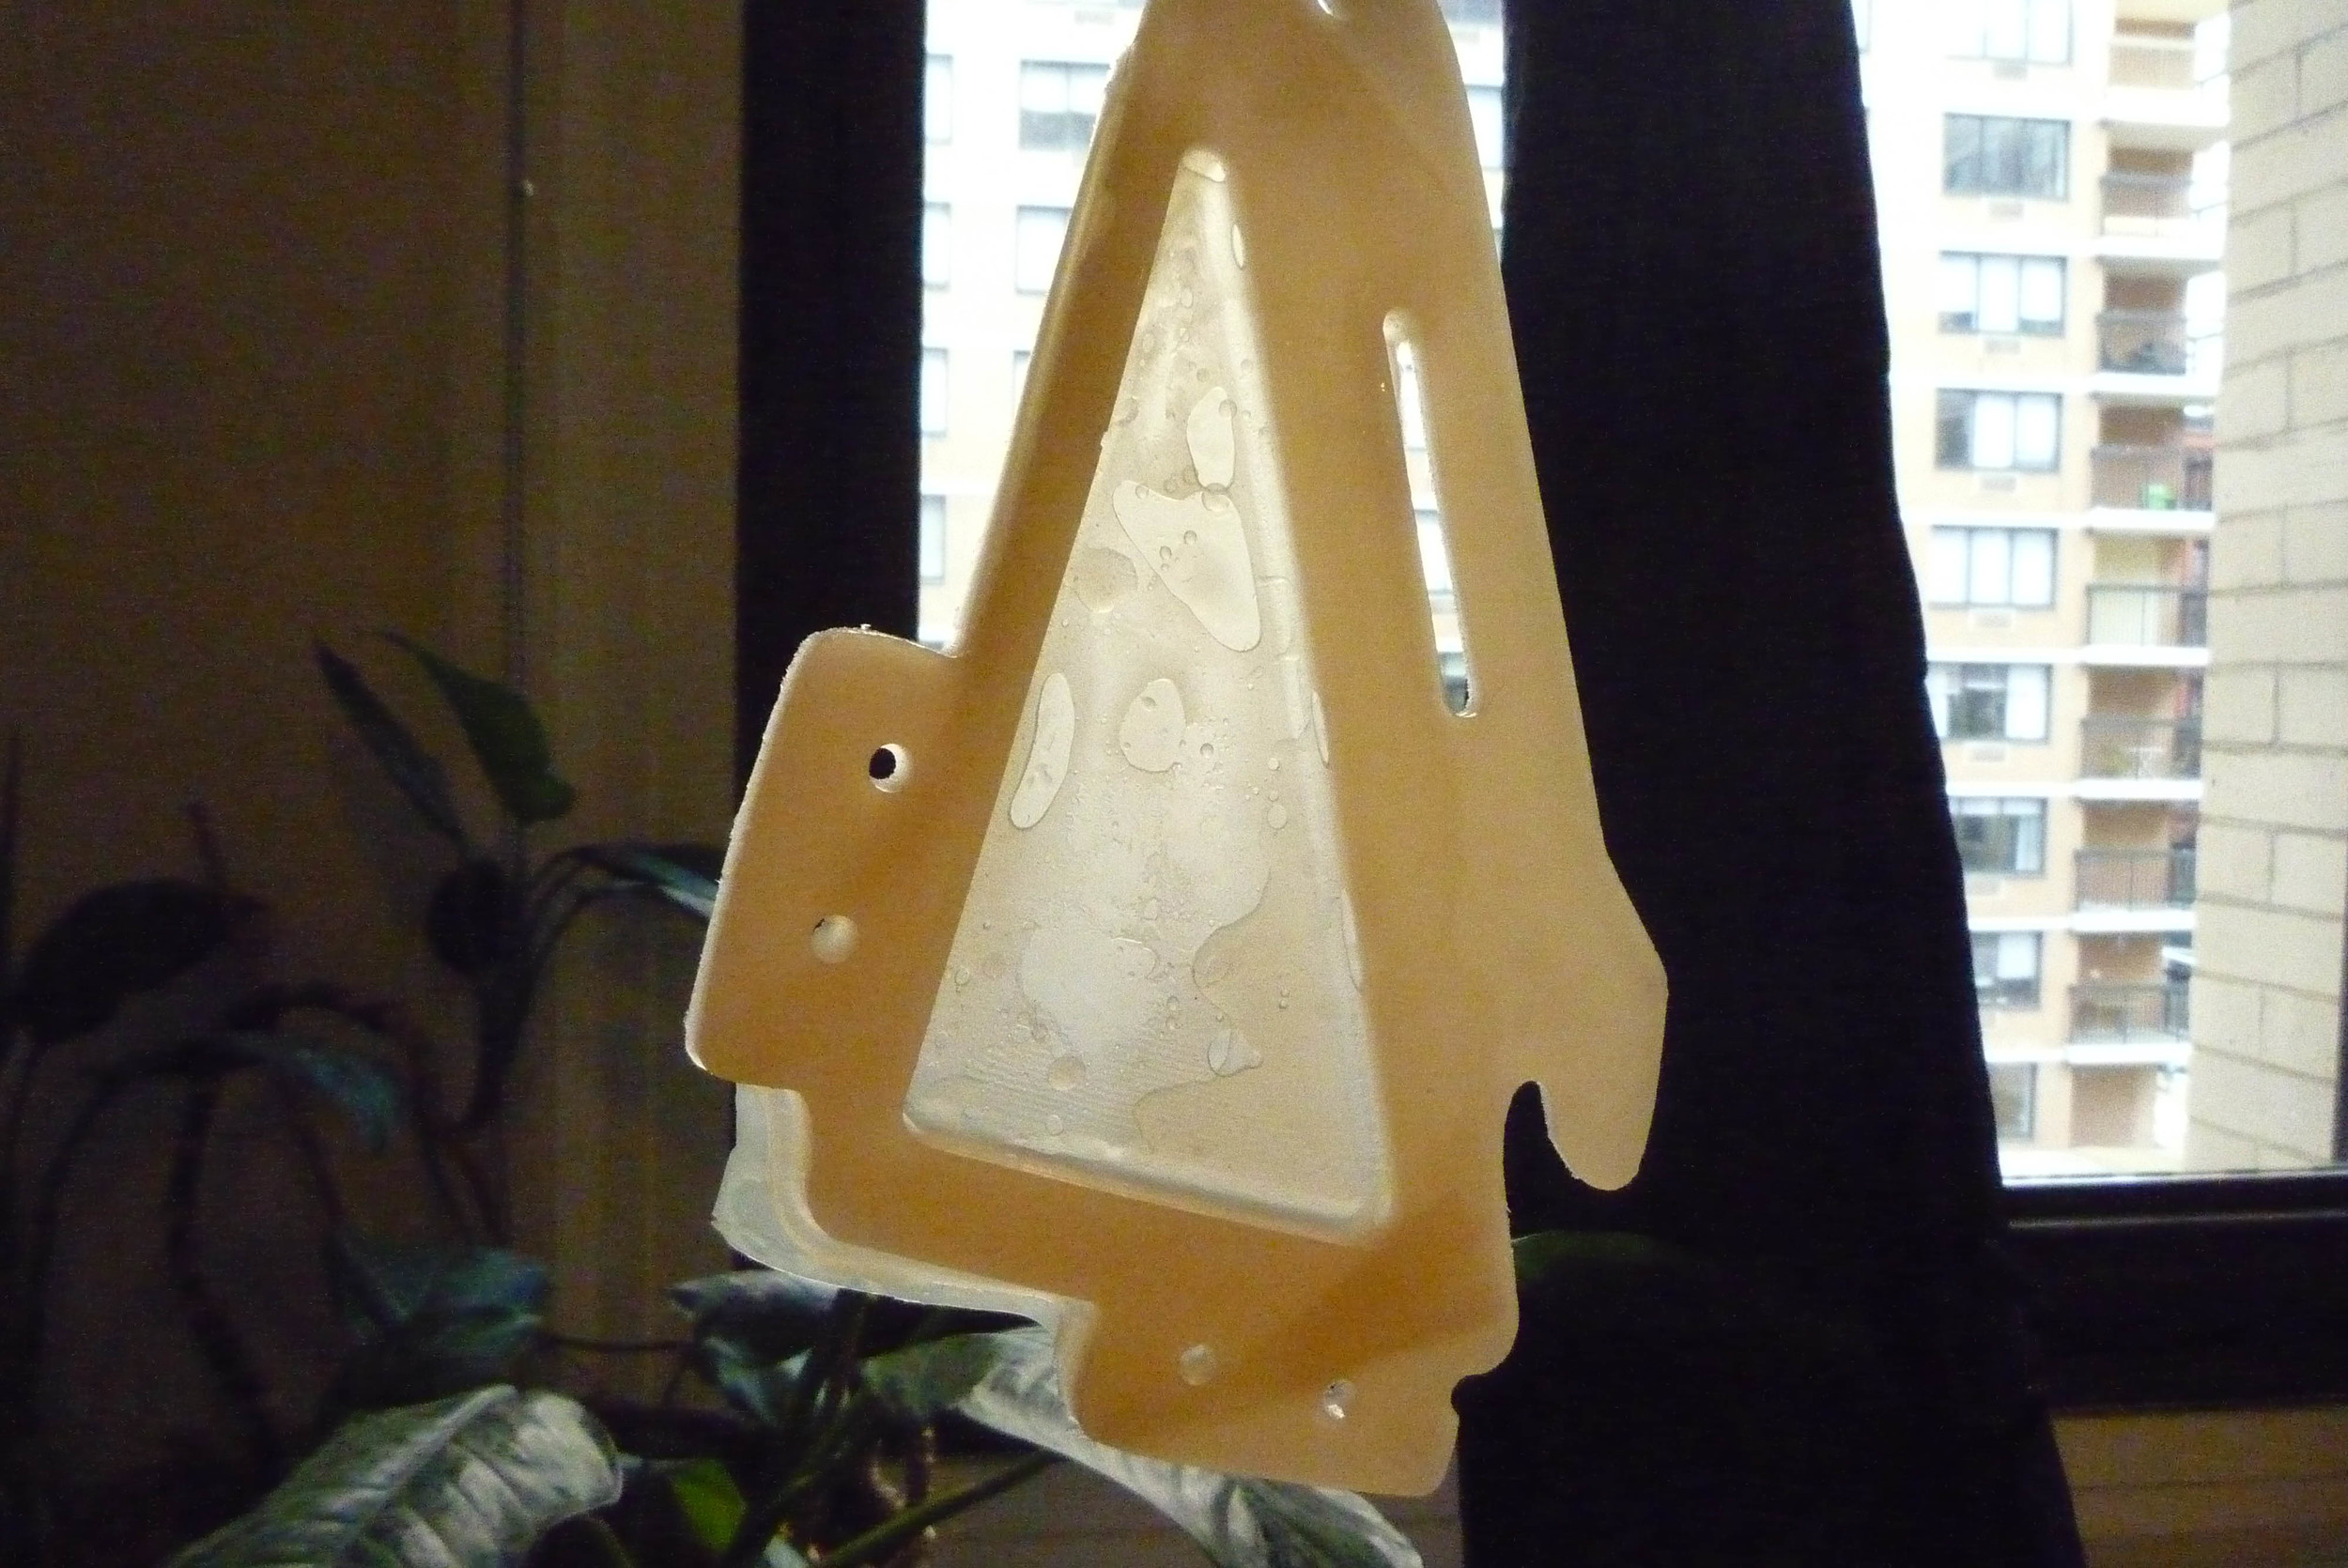
The test unit is still not completely cured, but it is strong enough to be removed.
I am curious about how secure the latex is inside the cast, however, though sloppy- looks like it could be a fruitful beginning.

ANNNNDDDD the mold is free.
Coupla things- but first off:

A few of the nibs tore off. In addition- in the pouring process, the mold was set on a table which had a slight lean. This means one corner of the mold is way thinner than its opposite side. Because this is a negative- it isn't that big of a deal. I saw it happen while casting it, but it had already begun to get rigid by the time I stopped pouring.