-Emulative Emergence - finalizing mechanism
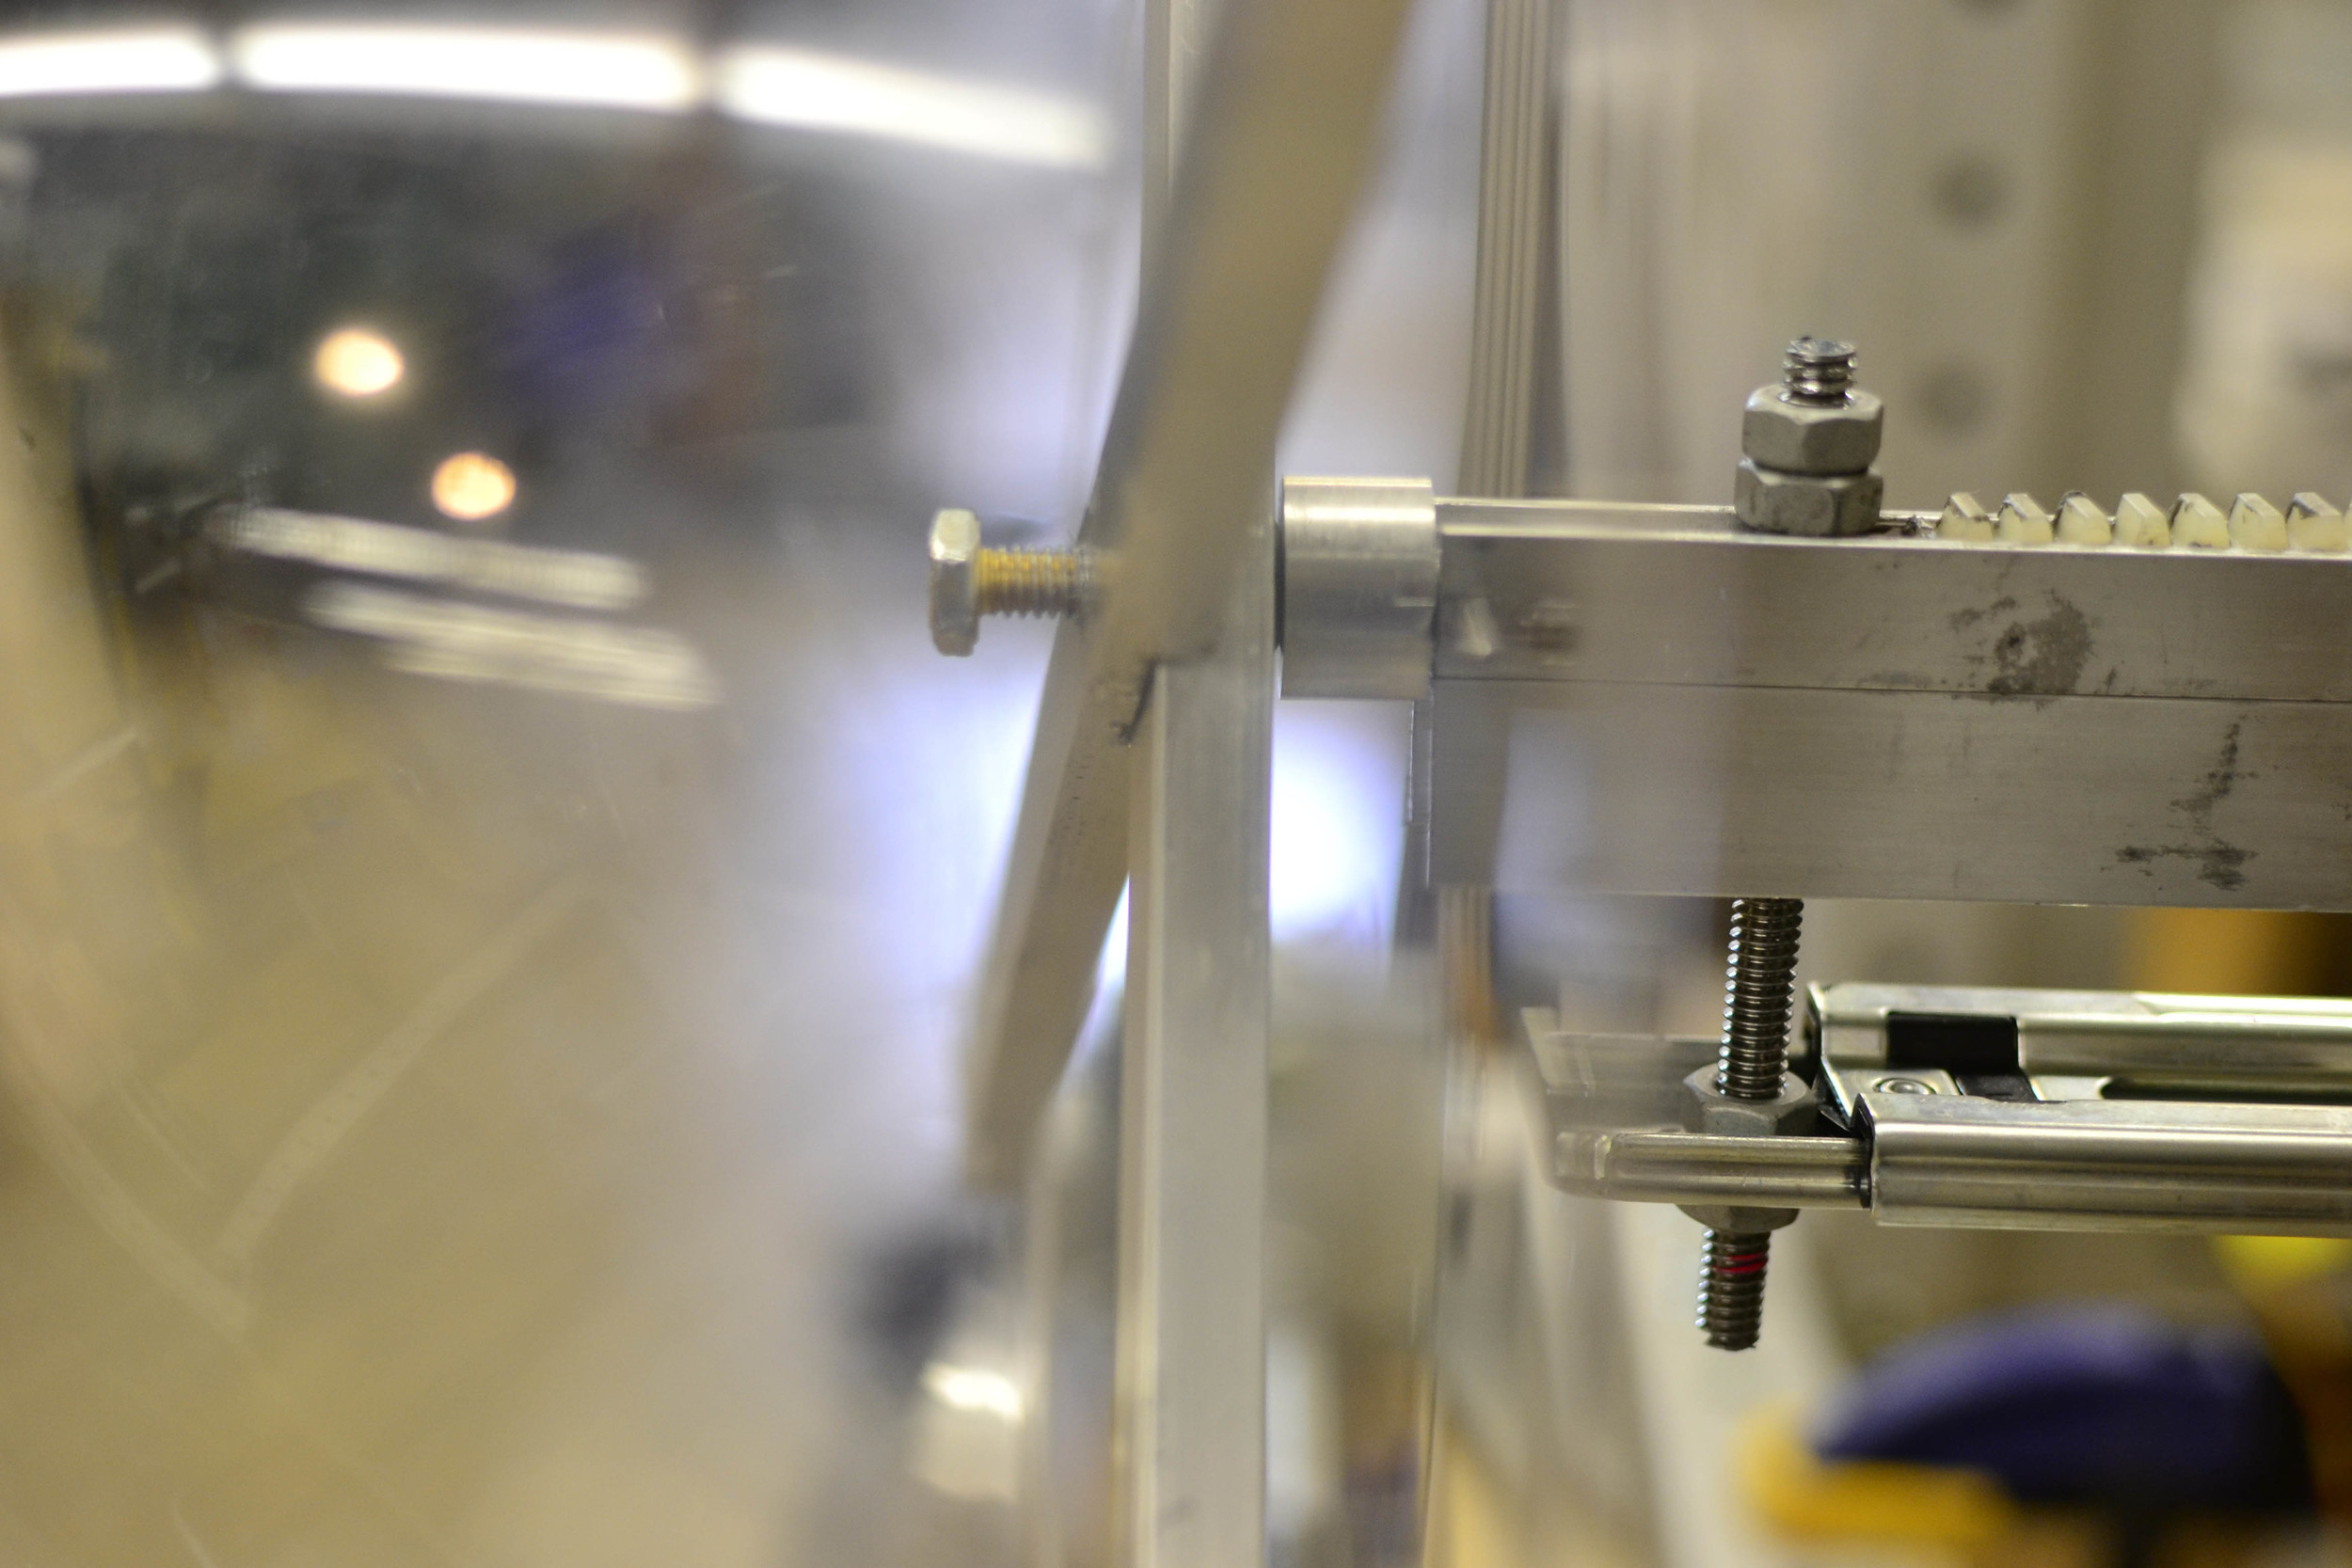
So, I got in and two of my screw drive mounts were "pressure fit"... meaning I hammered them in. That being said, they were not straight and therefore their movement was off-center- causing the c-clamp to undulate. So I remade two of them

In addition I knew that for prototyping movement etc, I would need to be able to see different angles of the mechanism and to see the movement where the movement will be in proximity to gallery visitors (height etc.)
So I slapped together a little cart with wheels to house the thing:

I also late last night tried to mount a screw in the top-hat -end of the rack.
I screwed it up, so I turned another on the lathe, and gave the thickness of the "brim" some more thickness to accomodate more threads.
I then took some u-channel and made a bracket to house the plexi globe I bought

I then mounted it to the rack


It still needs some TLC to get mounted properly but for now it is ok. (i am in a crunch to get it looking ok for the image for the thesis book)
I then taped the latex to the mechanism.

I then went to a gallery meeting to discuss the install and when I returned the sunlight was glowing in from the shop windows... my shadow kinetics were gleaming! I can't wait to put some lights and really bring out the mechanisms!

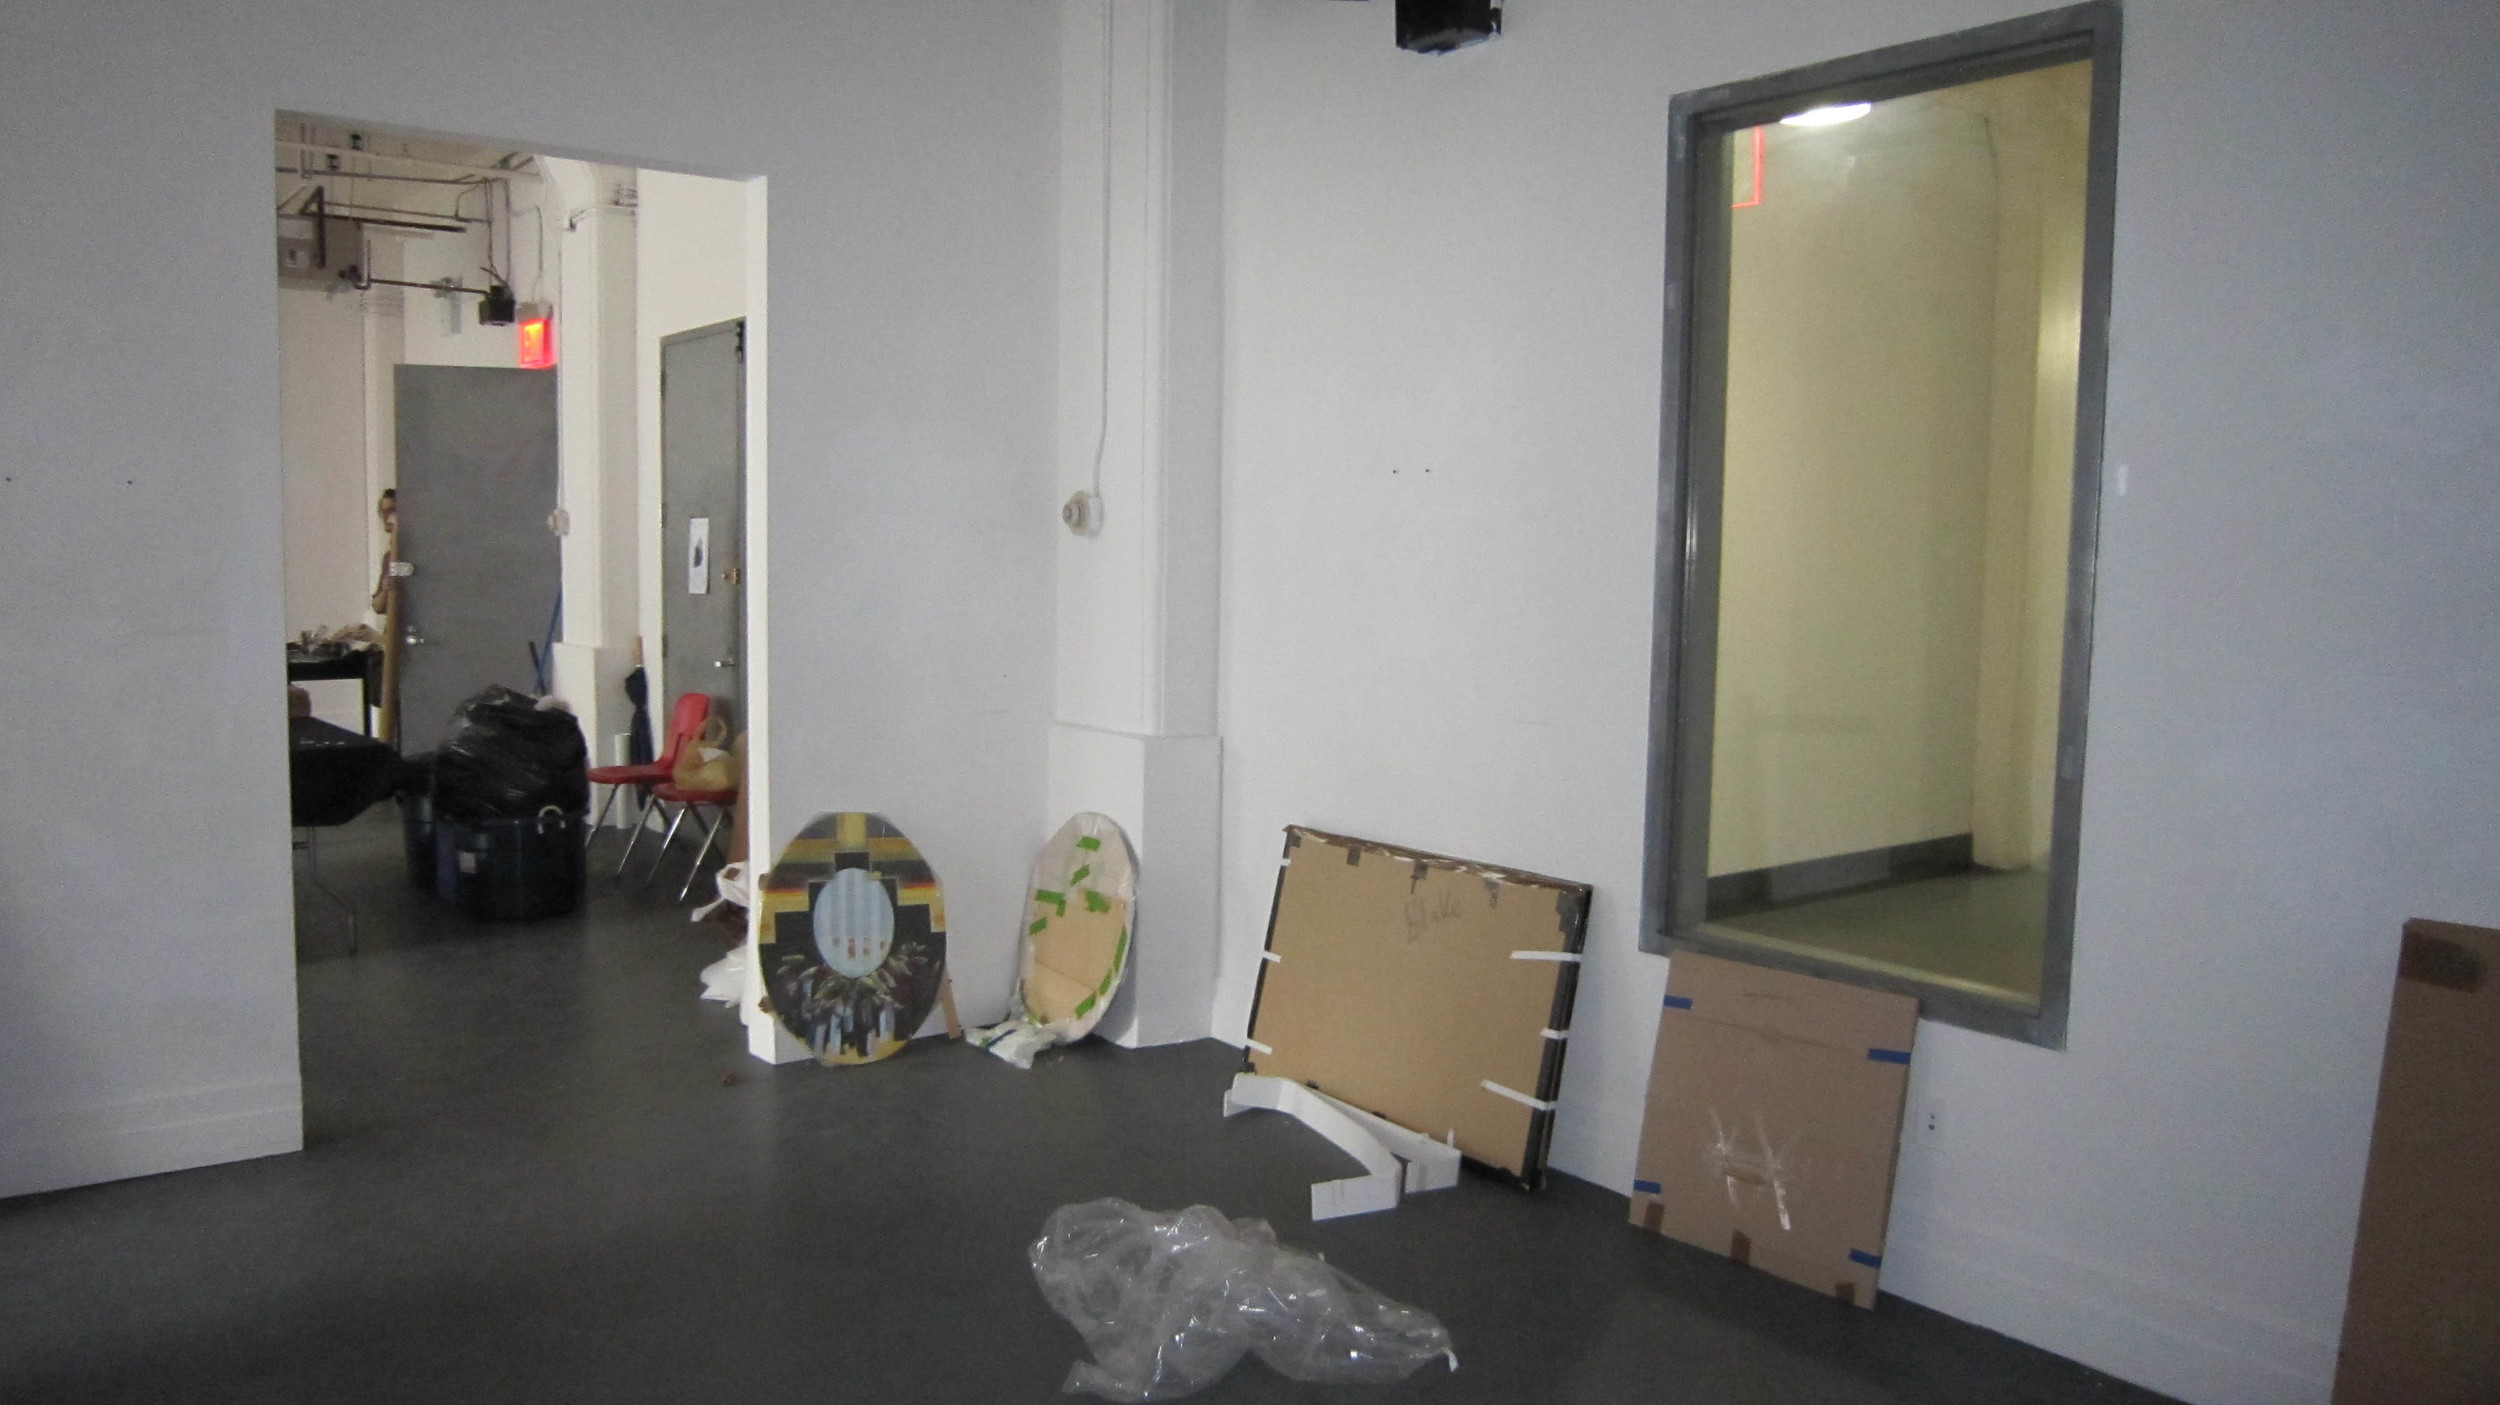
In addition I had a meeting with Kunsthalle Galapagos in their 111 Front Street DUMBO location. They are giving me an entire room!!!
(photos are shite)

(what the install will be looking at)
NOTE: I cast the final Rubber thing for several reasons= I need to get rid of the table in my staging and to complete somethign for all three units
In addition I did futz around with the code a little, but my big push is to get the thesis documents ready.

I then went to a gallery meeting to discuss the install and when I returned the sunlight was glowing in from the shop windows... my shadow kinetics were gleaming! I can't wait to put some lights and really bring out the mechanisms!

In addition I had a meeting with Kunsthalle Galapagos in their 111 Front Street DUMBO location. They are giving me an entire room!!!
(photos are shite)

(what the install will be looking at)

NOTE: I cast the final Rubber thing for several reasons= I need to get rid of the table in my staging and to complete somethign for all three units
In addition I did futz around with the code a little, but my big push is to get the thesis documents ready.
I fixed the drawer slide to the frame in a more solid way.
It is mostly flat.
(it is comprised of spacers that fit just on the part of the bottom of the slide that doesn't move.)

I then sandwiched it in place (the whole thing is beginning to look a bit less pretty - but it is functional)

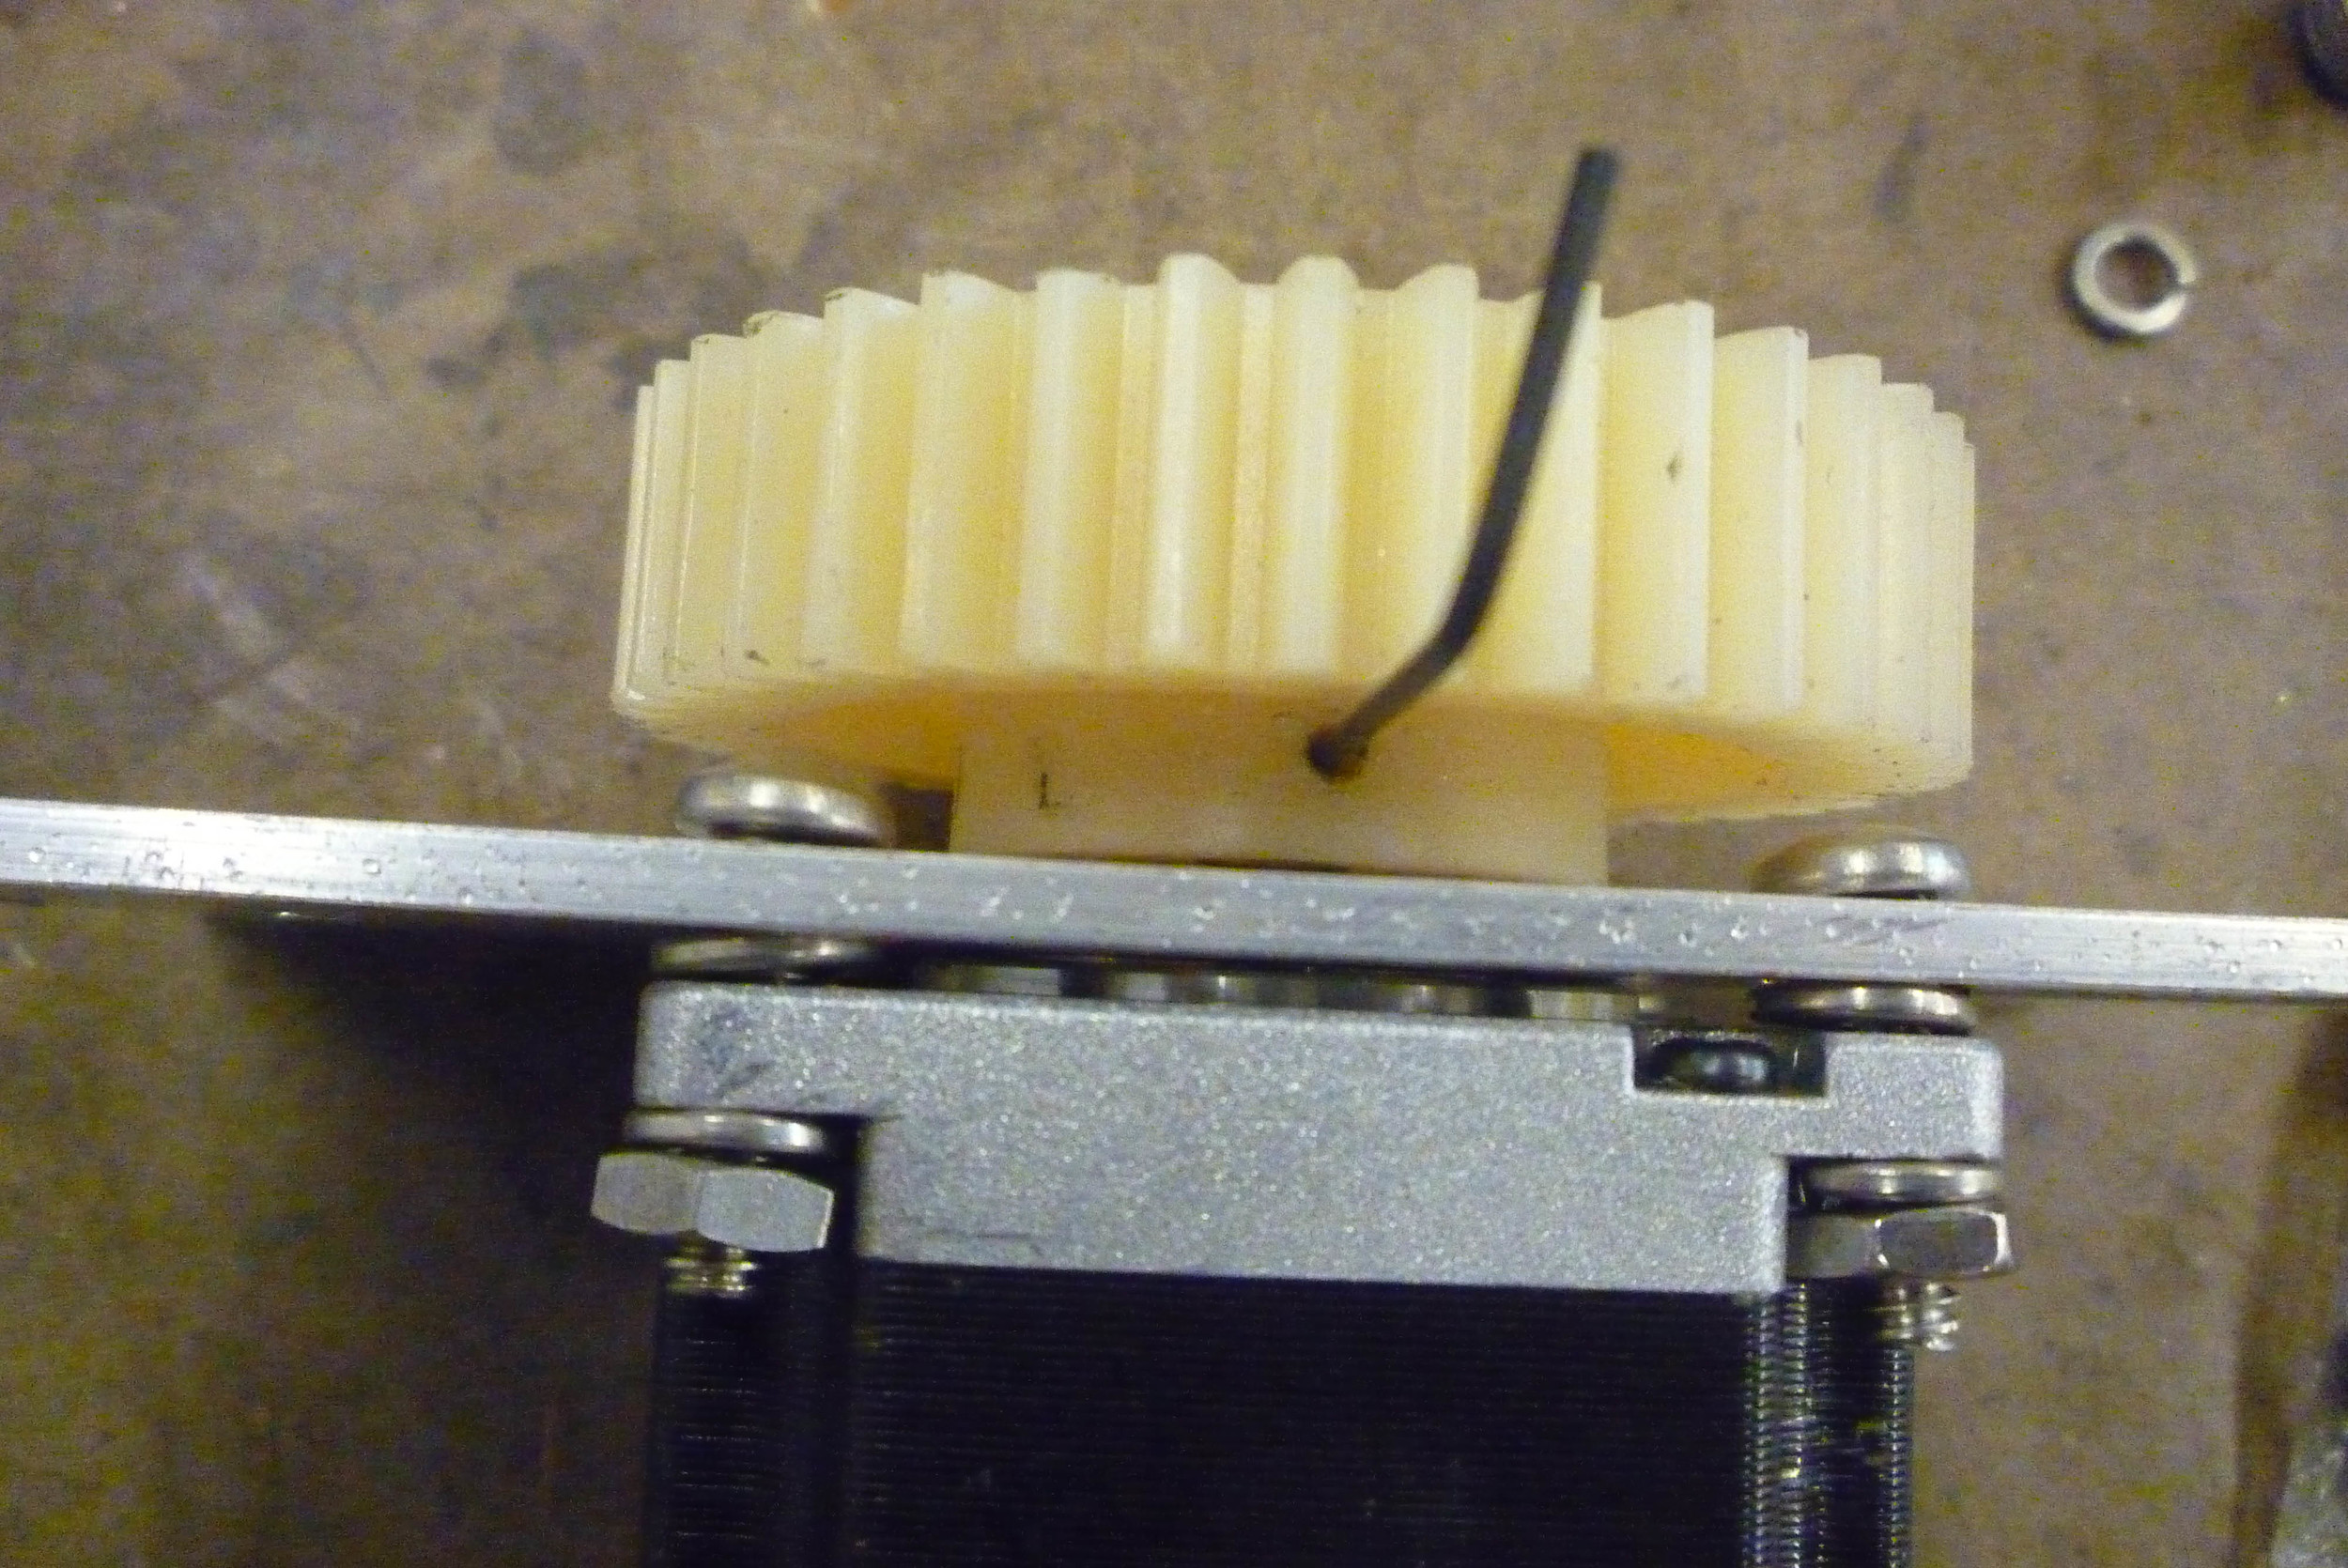
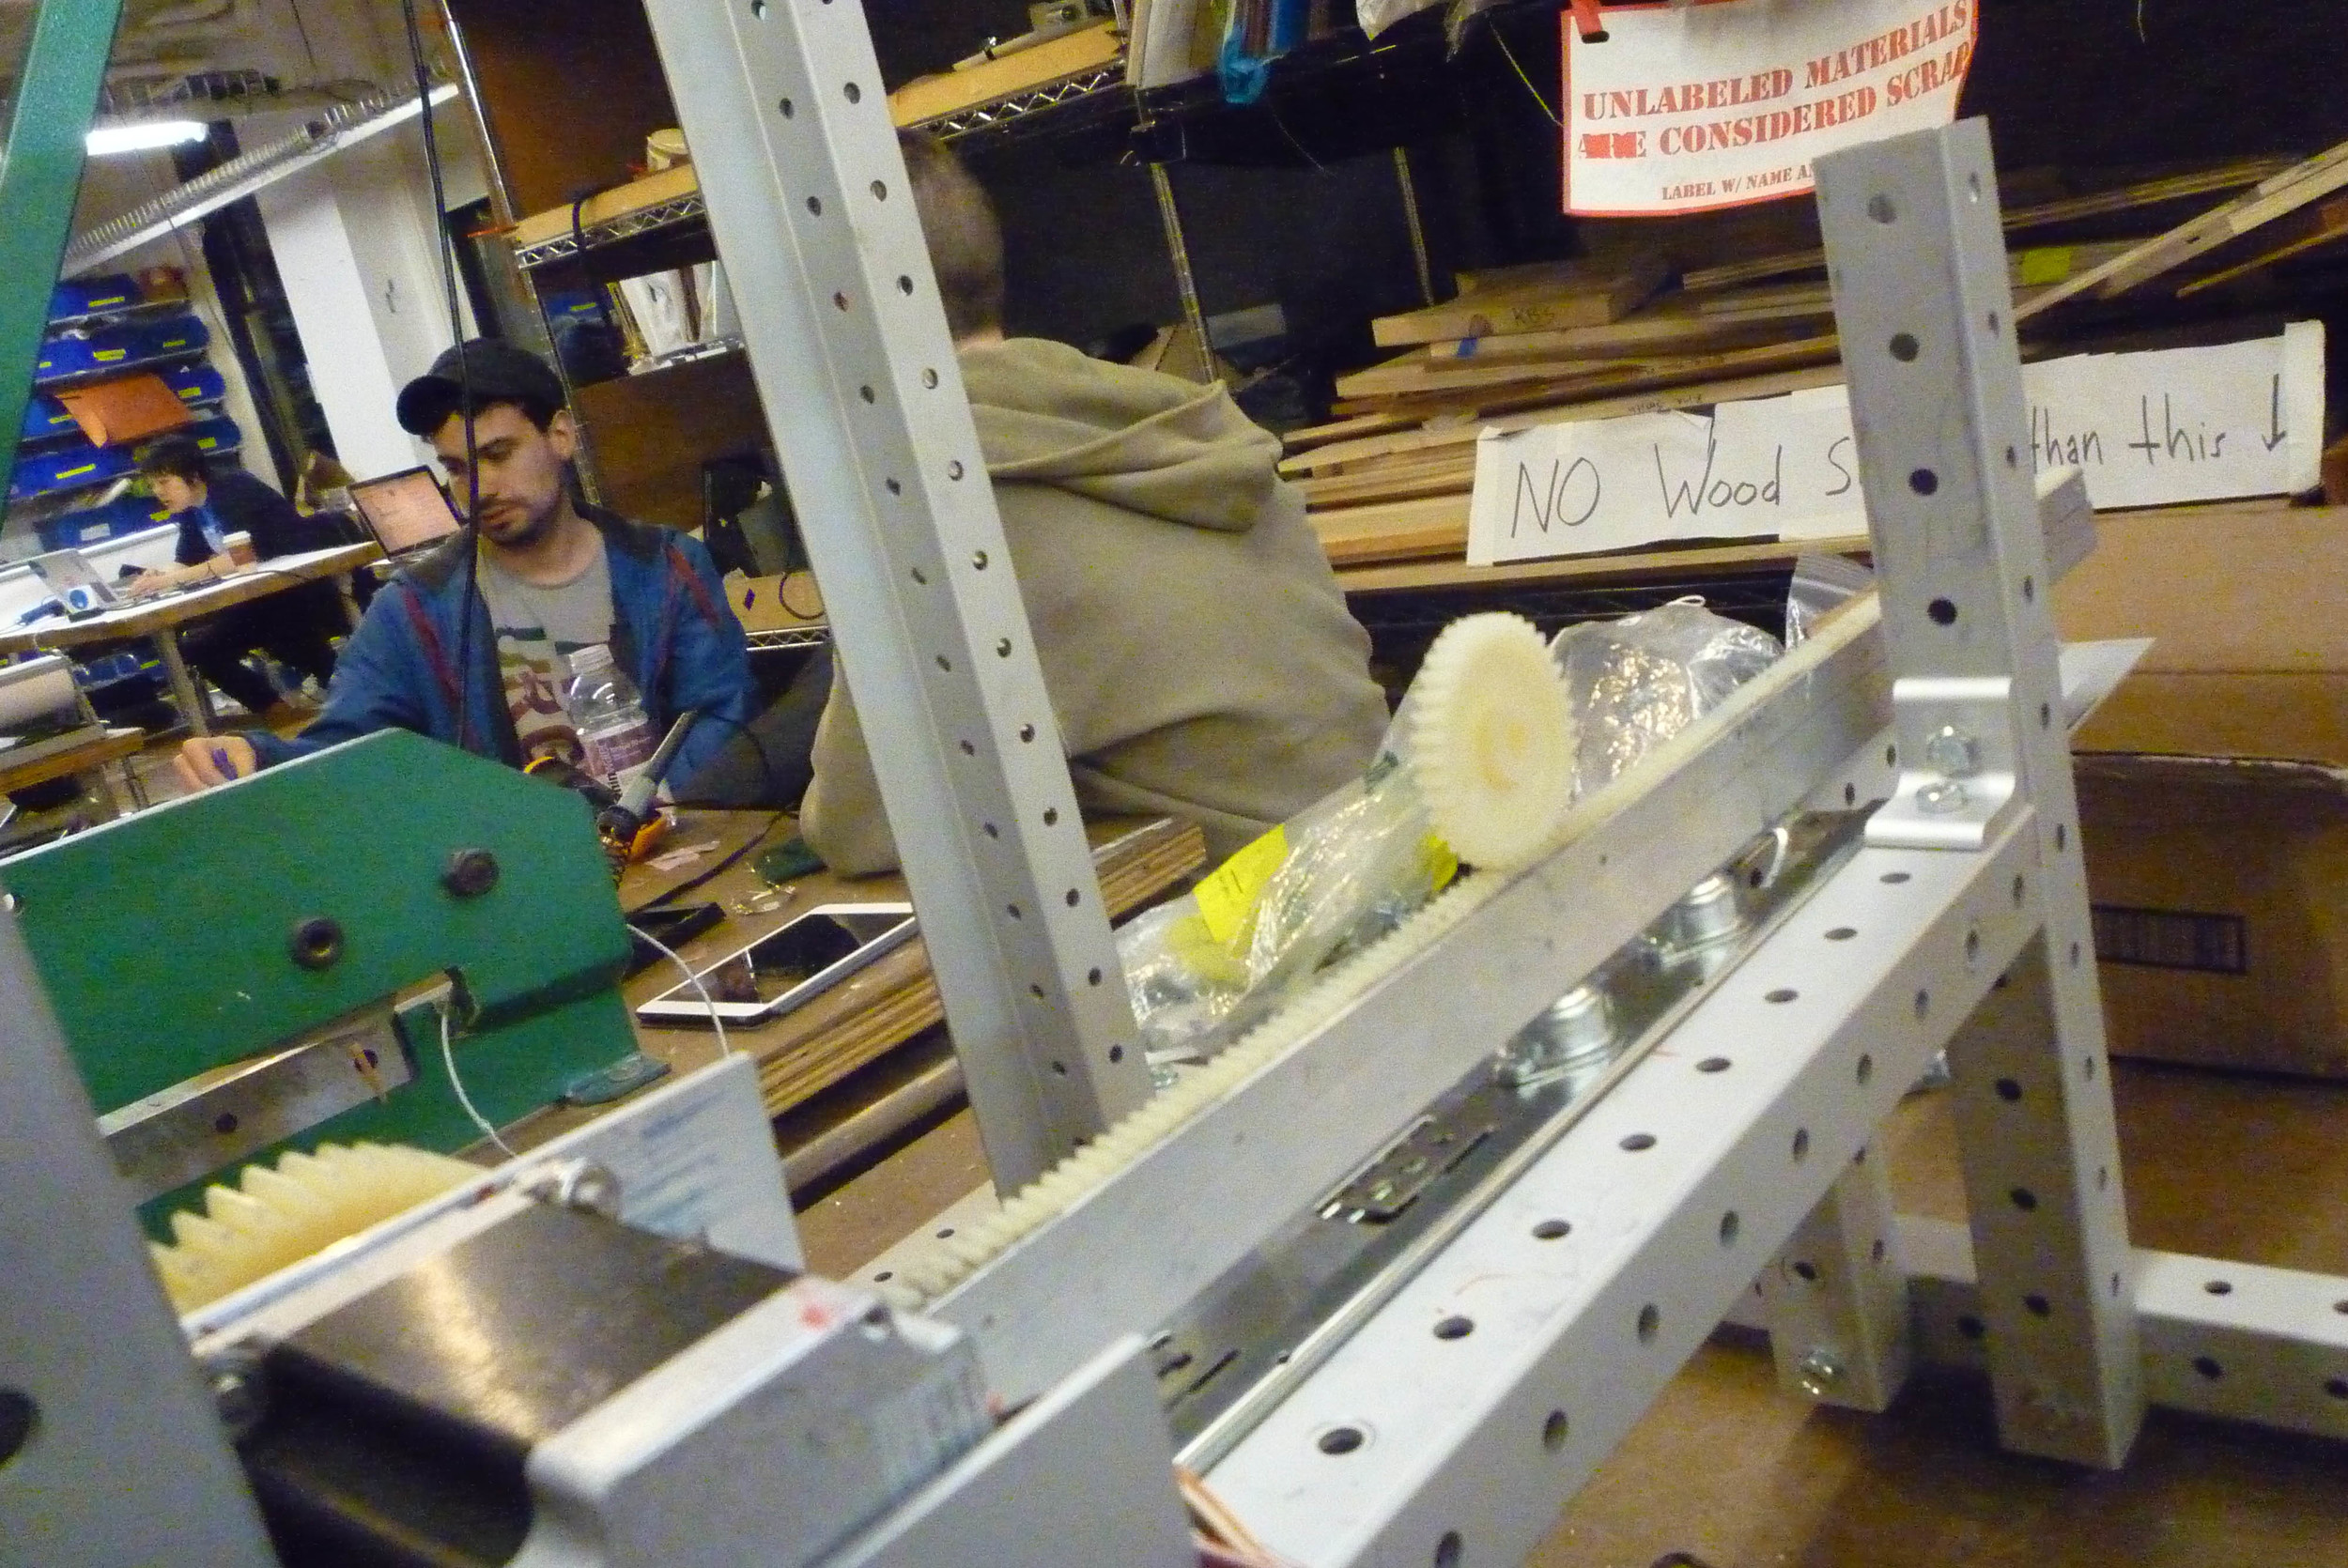
I put a back-end spur gear to help stabilize the rack as it slides

In addition some surplus motors and big easy drivers came in the mail (more than is needed, as extras always come in handy)

STEPPER IN ACTION part I
STEPPER IN ACTION part II
and for cohesion
SCREW DRIVES IN ACTION
So my latex adhesive came in the mail finally!
It is sort of like really really powerful rubber cement.
I prepped my latex - built a frame and stretched the latex over the frame- as I had done a test at home and it had shriveled up like a raisin.


I cleaned the latex with rubber cement solvent - sanded it lightly - and re-cleaned it with solvent

I put a thin layer of adhesive on each side of each of the latex and waited on it to get tacky - I then put a fresh layer of adhesive and placed the rubber mold in the center - then took a brayer and tried to get all the glue bonding.


that image is the rubber between one piece of "natural" latex - rubber cast - white latex --

this is it bonded and HOLDING!!!! (white latex forward)

------
i got my flat metal in the mail and cut off a tab to drill the holes to mount the stepper

In addition I futzed around with the rack (who kept raising and lowering---)
I've finally got it mostly working
I also began the process of putting the counter weight on the back of the rack mount
IN ADDITION ALLLLLLL MOTORZ ARE MOUNTED! (some minor adjustments needed but!!! )
